Table of Content
Your home’s outside walls may be cracked. You already know that is not a good sign. Cracks can be significant problems that require immediate attention; otherwise, the issue would worsen and cost more to rectify. Around the outside of your home, a crack or multiple cracks should never be overlooked, and they also shouldn’t be covered up or filled in with low-quality silicone mastic (cheap render).
Your home’s walls are crucial and must be maintained in good shape; otherwise, more costly problems will inevitably arise, leaving you to pay the bill and wondering why you could not get the issues fixed in the first place.
Sometimes repairs can be readily completed by yourself if you have some DIY expertise, but again, you have to be at least somewhat familiar with some tools because it is not as simple as you might believe!
However, we hope that by describing what you need to know about wall cracks in this article, you will know the necessary way to fix some of these cracks on your own.
We frequently render rather than fill the crevices to mend the cracks. Keep in mind that cracks are often a sign of hollow rendering.
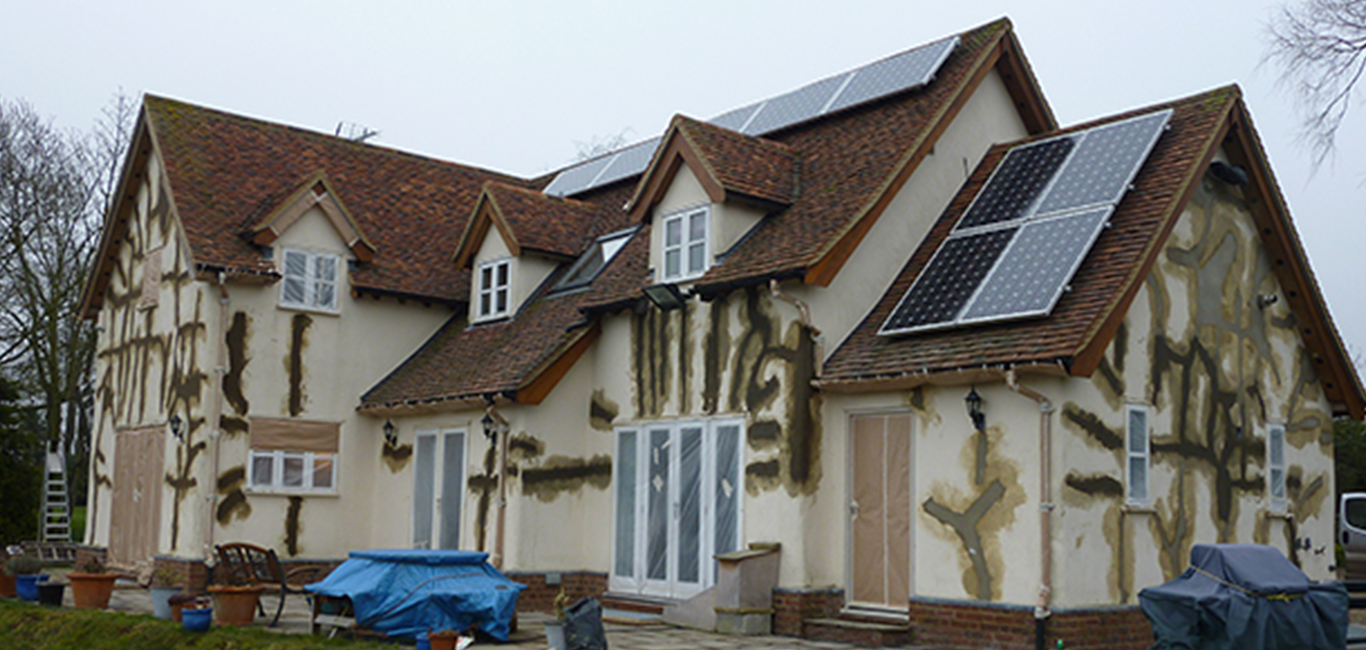
render repair
The old render around the damaged parts needs to be removed first.
If the render has fallen off in patches, trim the edges to a sound surface. A craft knife is an ideal device for this.
Using a bolster chisel to carve back runs the risk of loosening nearby render.
This is some sound advice. However, it’s best suited for someone with at least some expertise fixing render, working with render tools, and employing mortars.
Make sure the margins of the patch are squarely cut to give a key for the new mortar and get rid of the feather edging while preparing the area for restoration.
Before hacking off hollow or cracked render, more information should be obtained, especially if it is considered very ancient or part of a historically significant building.
Hack it off, trimming the margins to sound plaster if it cannot be repaired or is not worth saving.
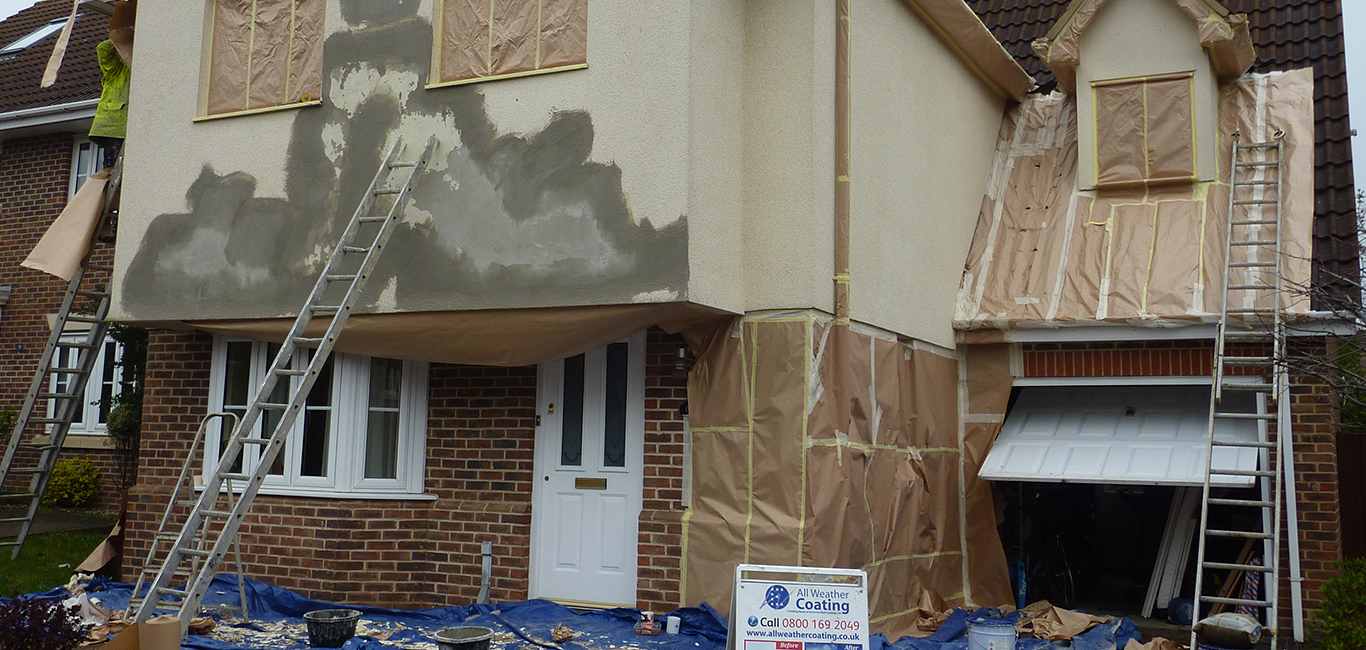
Repairing rendering, how to do it?
Prepare your tools and equipment, and make space to work in.
- You must first identify the problem spots and then mark them with chalk.
- As you hear any hollow sound, the render has pulled away from the substrate and needs replacing. To check the hollow render, gently tap a hammer on the walls.
- Cut away the inadequate render using a chisel and lump hammer.
- Avoid getting overly excited and beginning to lift off the nice render surrounding the problematic areas. An angle grinder is another option that works well for repairing cracks.
- In the wall behind, rake out the loose pointing and roughly re-point.
- Following the preceding instructions, remove any loose dust and apply the render in thin coats, carefully pushing it deep beneath the undercut edges of the old plaster.
- To ensure that the final render consolidation creates a flat patch flush with the surrounding render, apply the last coat with a tidy butt junction between the old and new and a tiny bulge in the centre of the patch.
- Avoid feathering the patch’s edge over the surrounding plaster.
- Utilising a wood float, push back and consolidate the patch. Using little wooden floats for small patches, these can be created by fastening a small handle to a short piece of batten and smoothing the edges with sandpaper.
Discrete patch fixes
When working on your home, experts ensure that all exterior wall repairs—such as patching cracks and replacing loose or hollow render—are completed.
You would not be able to see where the repair was made once our outside wall coating system is applied to the render; thanks to the expertise of our crews, we guarantee it!
The value of rendering
The excellent British weather is something that renders it to withstand to safeguard your home, but it cannot do it independently.
The render needs to have a covering or wall coating placed on it for weather protection.
Unpainted render may absorb rainwater, and if the next night is chilly, that water may freeze inside the wall, causing the render to break as the water expands into ice and pulls the rendering away from the brick below.
If this occurs to your render, it must be fixed to prevent dampness and mould from entering your home.
A weatherproof wall coating must be applied to rectify any weaknesses in the wall’s ability to withstand weather, as paint merely gives the wall ornamental attributes.
Conclusion
Considering all these facts will help repair the walls’ cracked, loose or hollow renders. It is not a tricky job but is very significant and thus must be given extra care.