Plastering your internal wall is probably one of the best things you can do for your home. Installing a plastered walls is an excellent option especially if you’re not a fan of drywalls. That being said, the installation process of both varies dramatically in terms of difficulty level. Plastering a wall is not an easy task, it needs practice and expert supervision in most cases.
This becomes even harder when it comes to an internal wall since there are a lot more factors to consider. However, if you still don’t want expert assistance and want to take it as a DIY project, we’re here to help. Follow this article to the very end to learn everything about plastering your internal wall.
Preparation
- Warm-Up
Plastering the wall is going to be hectic and will demand a lot of energy and patience. It’s better to give your muscles a good stretch before starting. Not only will this uplift your mood, but your body will tire less slowly. Overall, it makes the process less prone to errors.
- Move the Furniture
Before putting all the tools to work, move your furniture and cover them all with dust sheets. Also, make sure to remove the carpet and roll it to avoid stubborn stains. Meanwhile, make sure to remove all the obstacles (if you have any) such as nails and fittings from the wall.
- Get all the Tools Together
It’s better to keep all the tools you’ll need in one place to avoid disruptions while plastering. Here are the tools you’ll need to successfully plaster your home’s internal wall without fail:
- Plastering Trowel
- A hawk
- A good-quality bucket
- Paintbrush
- Paddle accessory and power drill
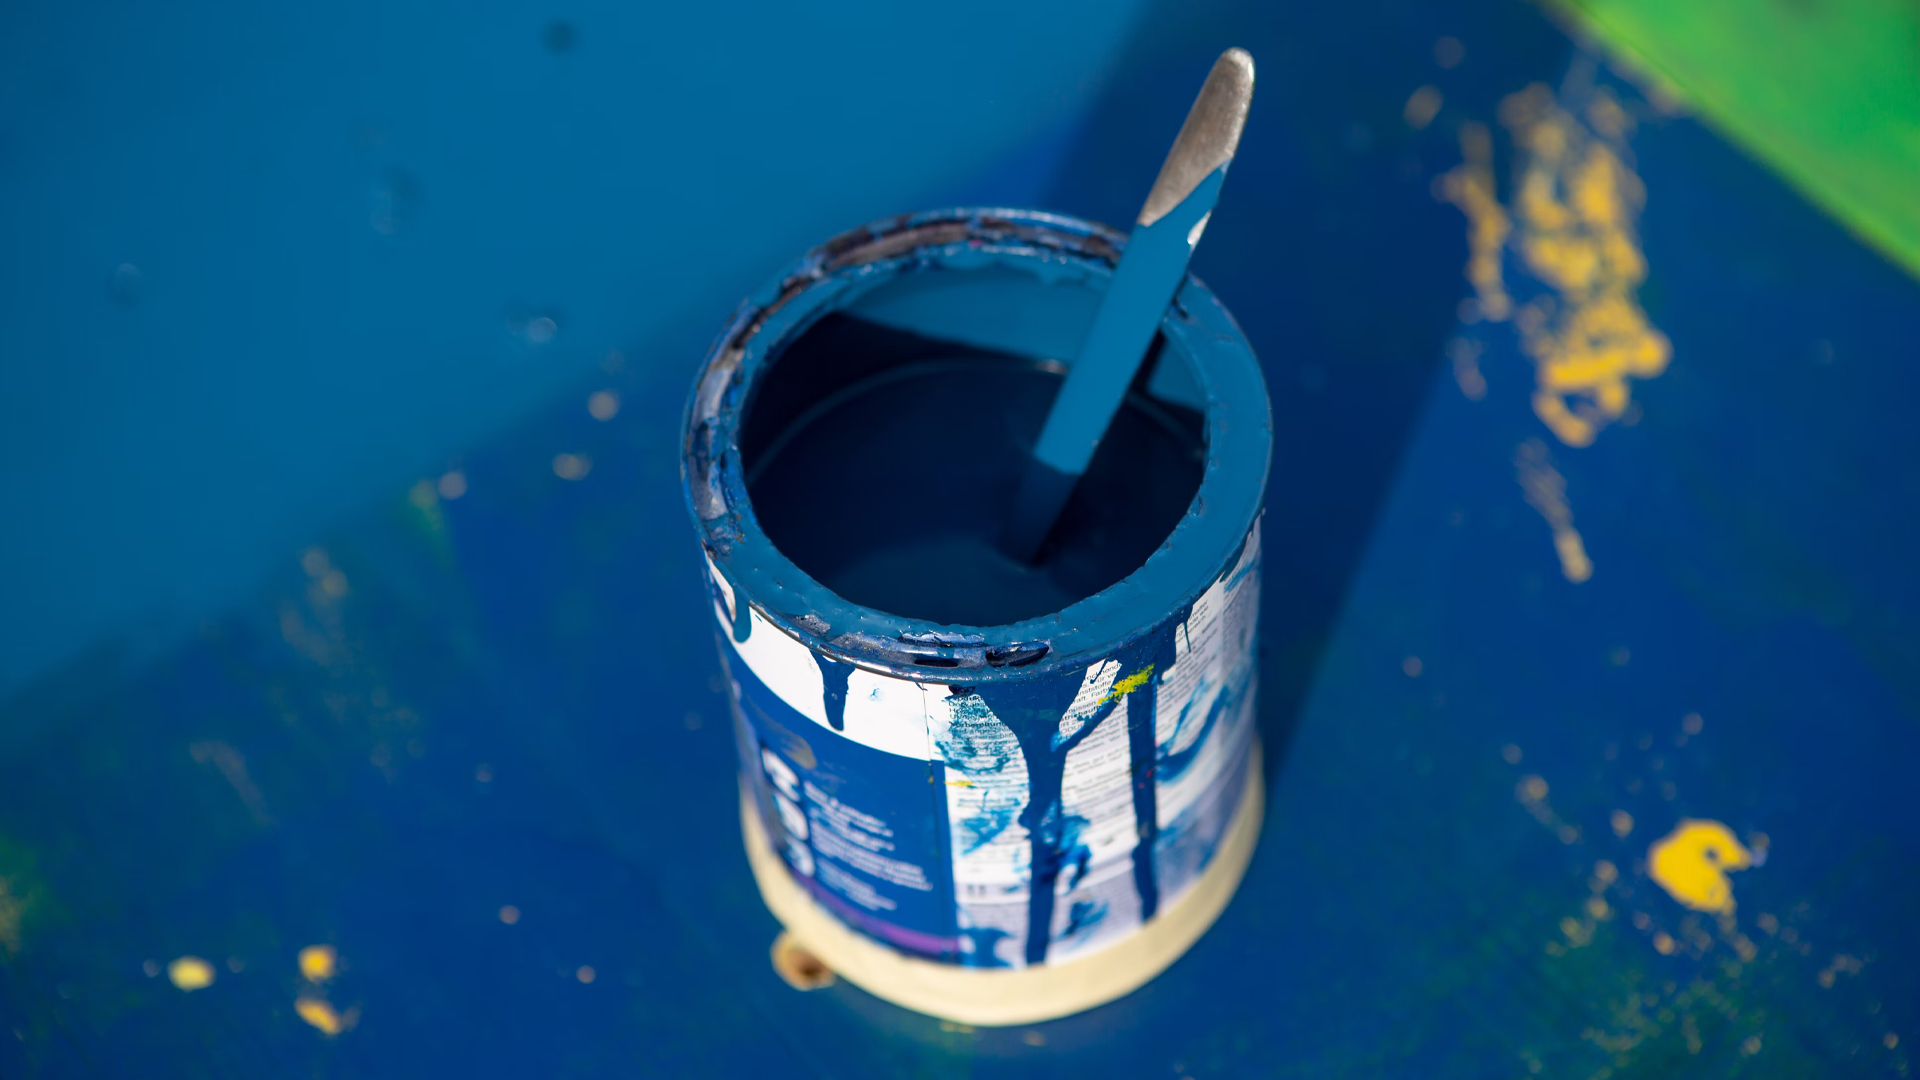
- Plaster
- Angle beading
- Scrim tape
- Hammer and chisel (if you’re replastering)
- Water
- Dust sheets, rags, and dustpans
Plastering the Internal Walls
- Mix the Plaster
Plasters from different manufacturers have slightly different mixing procedures. So, it’s best practice to have a good look at the instructions before throwing everything in the bucket. While mixing, make sure to always add the plaster to the water instead of doing the opposite. Use the pedal accessory and the power drill to efficiently mix the plaster and get a lump-free nice creamy consistency. Furthermore, make sure to only mix small amounts of plaster at a time as the plaster will start drying as soon as you mix it up.
- Apply the First Coat of Plaster
To achieve a smooth and level outcome, it’s preferable to apply two coats of plaster. Scrape a trowel full of plaster mix out of the bucket and plop it onto your hawk. Now collect some of it from your hawk using the trowel and use smooth strokes to make the plaster stick to the wall. Meanwhile, press the plaster mix onto the wall and try to distribute it evenly.
Make sure to use the full force of your body to firmly apply the plaster to the wall. Don’t worry, the suction effect won’t let the plaster slide, allowing it sufficient time to dry and stick permanently. Do the same repeatedly to cover the entire wall with plaster.
After you’re done with the first coat, allow the plaster to dry for a while. Open the windows and turn on the ceiling fans to speed up the drying process. Be patient and don’t start applying the second coat instantly after applying the first coat, doing so will remove the first coat of plaster as the cohesive force between plaster molecules is remarkably weak while it’s wet.
This will render all your hard work meaningless. While the plaster dries, make sure to clean the tools and buckets and prepare them for the second round.
- Apply the Second Coat of Plaster
The second and final coat of plaster will demand absolute perfection, there is no room for error. Achieving a smooth and lump-free final finish is crucial to make the paint look good once it’s applied. That being said, before going all in, fix any lumps or holes that might’ve gone unnoticed while applying the first coat. Also, make sure to clean around the edges of your wall with a good-quality wet paintbrush. Going from the bottom to the top, repeat the same process of plastering, this time with extra care and attention. Use long sweeping movements to achieve a smooth and plain surface.
After you’re done, take a coffee break and let the plaster dry for about half an hour, you can follow the same methods to speed up the drying process. Make sure not to let the plaster dry completely. Furthermore, if the weather in your area is too hot, make sure to gently flick some water onto the wall to prevent unwanted cracks in the plaster.
- Polishing
While the plaster is still considerably wet, it’s time to add the final touches and achieve the desired smoothness. To do that, flick some water onto the wall using the paintbrush and use a clean and wet trowel to level out the surface even further. Remember the wall is still delicate so refrain from applying too much force this time.
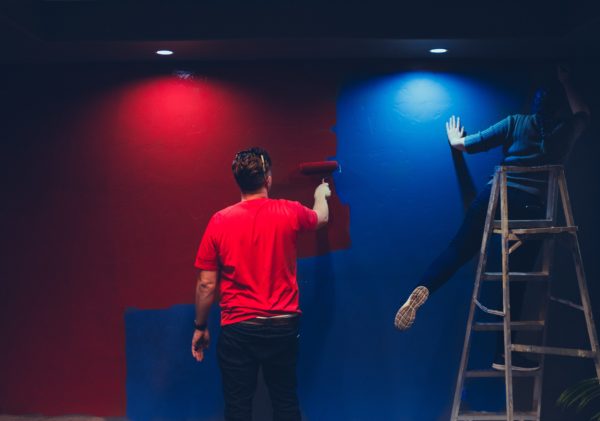
Gently polishing the plaster will fix all the unnoticed issues. That’s it, you’ve successfully plastered the internal walls of your home. All you need to do now is wait, let the wall dry for a full day or more and apply paint afterward.
Key Takeaways
- Achieve just the right consistency every time or your plaster won’t stick to the wall.
- Make sure to apply two coats of plaster, allow the first plaster coat to dry properly before applying the second coat.
- Use high-quality tools to prevent disruptions, make sure to check the quality of all the tools before mixing the plaster.
- Keep cracks and holes in check if the ambient temperature is too high.
- Execute the final procedures with extra care.
Conclusion
While plastering the internal walls of your home is hard and time-consuming, the outcome is extremely satisfying, that is if you do your job with absolute perfection. That being said, the tips and steps mentioned in this article will surely help to make your cost-effective DIY project successful.