Are you considering a facelift for your home’s exterior? Silicone render could be your ticket to a more weather-resistant and aesthetically pleasing finish. In this comprehensive guide, we’ll walk you through the steps of applying silicone render, ensuring a professional finish for your UK home.
What is Silicone Render?
Before diving into the application process, let’s briefly understand what silicone render is. Silicone render is a type of exterior wall coating known for its durability and weather-resistant properties. It’s a popular choice among UK homeowners looking to protect their properties from the unpredictable British weather while enhancing the appearance of their homes.
Materials You’ll Need
To get started with your silicone render application, gather the following materials:
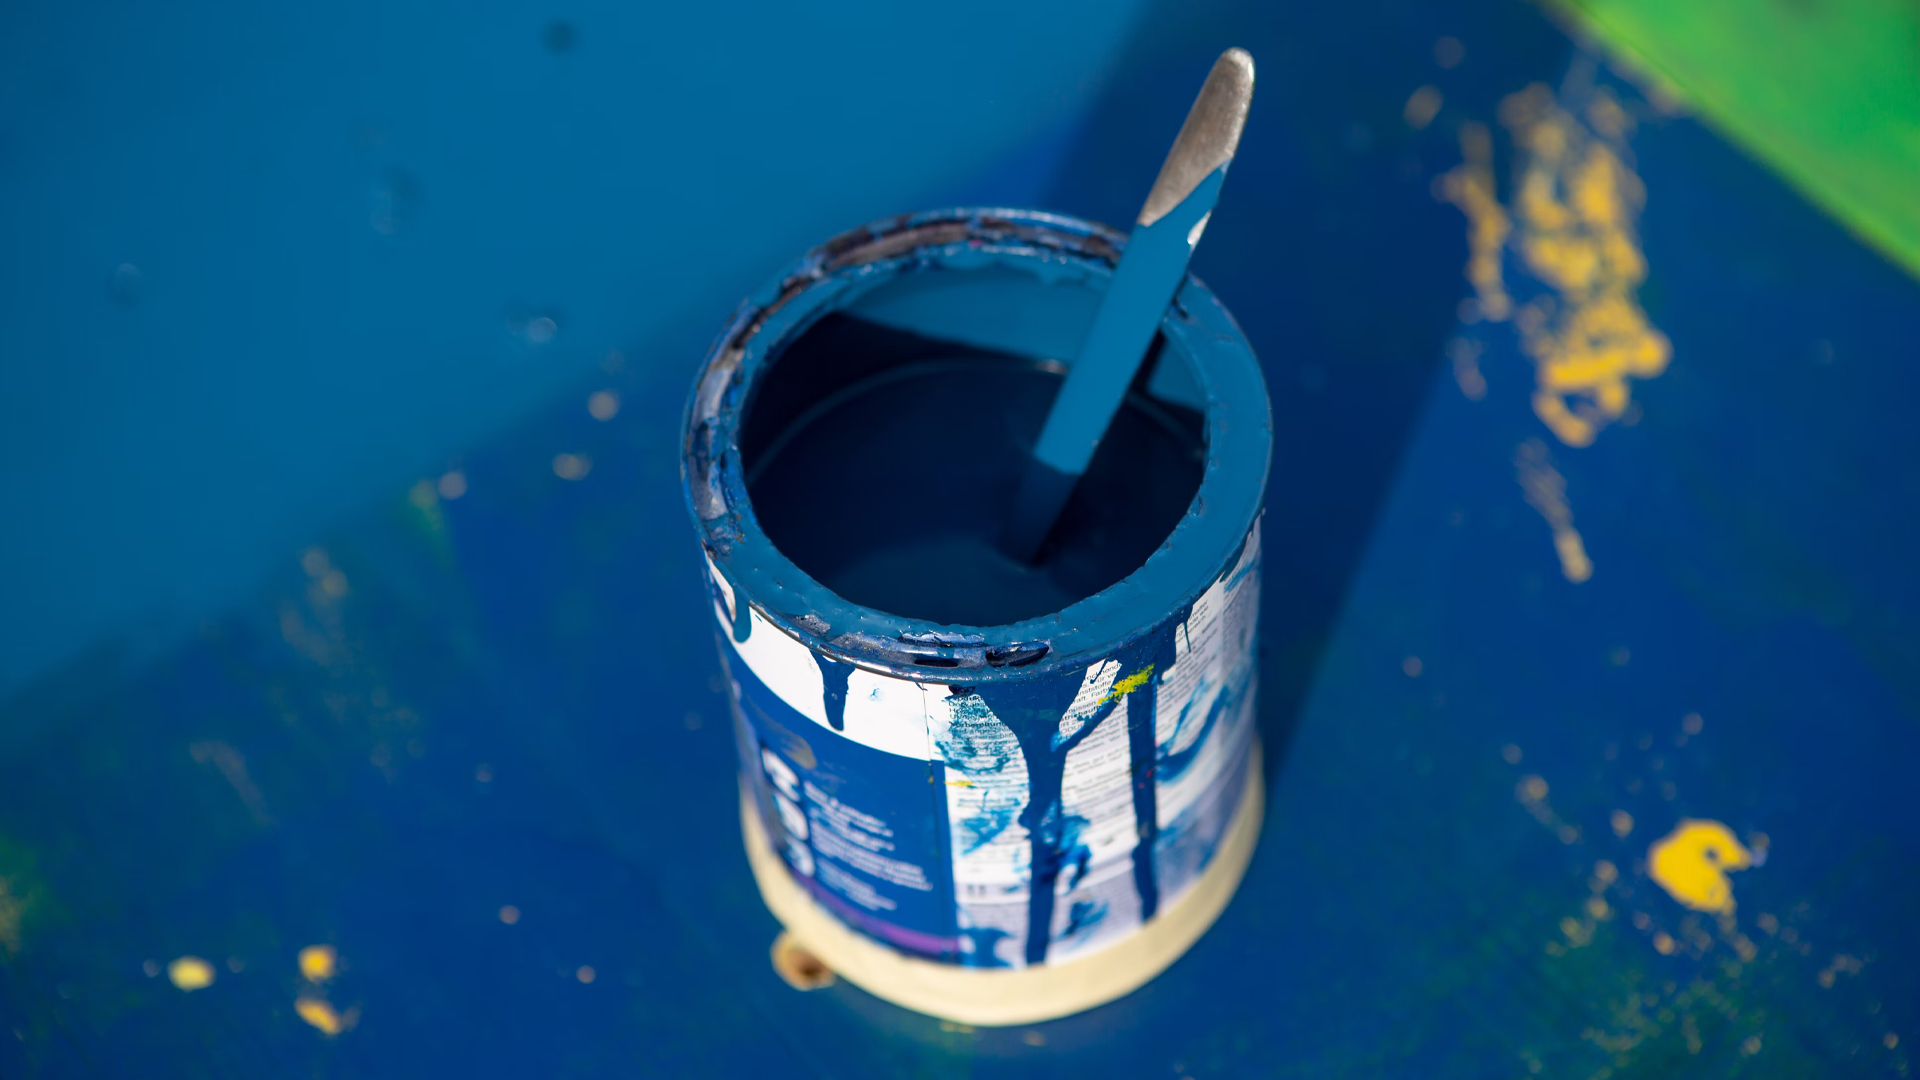
- Silicone render mix
- Reinforcement mesh
- Priming solution
- Render beads
- Mixing tools (e.g., a drill with a paddle attachment)
- Trowel
- Spirit level
- Protective gear (gloves, goggles, and a mask)
Step 1: Surface Preparation
Preparing Your Exterior Walls
Before applying silicone render, your exterior walls must be clean and free from loose paint, debris, and algae. Start by power-washing the surface to remove any dirt or contaminants. Allow it to dry thoroughly.
Priming the Surface
Next, apply a suitable primer to the surface. This helps the render adhere properly and ensures a long-lasting finish. Follow the manufacturer’s instructions for the specific primer you’re using.
Step 2: Mixing the Render
Creating the Render Mix
Now it’s time to mix the silicone render. Follow the manufacturer’s guidelines for the correct water-to-render ratio. Use a drill with a paddle attachment for efficient mixing until you achieve a smooth, lump-free consistency.
Adding the Reinforcement Mesh
Before applying the render, embed a layer of reinforcement mesh into the first layer of render. This adds strength and stability to the finished surface.
Step 3: Applying the Silicone Render
First Coat
Using a trowel, apply the first coat of silicone render evenly across the wall’s surface. Work from the bottom up, ensuring a consistent thickness of about 2-3mm. Use a spirit level to maintain a straight and plumb surface.
Tip: It’s crucial to work quickly, especially on warm and sunny days, to avoid the render drying too fast.
Second Coat
Once the first coat has dried (typically 24-48 hours), apply a second, thinner coat of silicone render. This coat should be around 1-2mm thick. Use the trowel to create the desired texture or finish.
Step 4: Adding Render Beads
Installing Render Beads
To achieve clean and crisp edges, install render beads around windows, corners, and other features. Secure them in place with the silicone render.
Step 5: Finishing Touches
Final Checks
Inspect the rendered surface for any imperfections, such as cracks or uneven spots. These should be addressed promptly.
Curing Time
Allow the silicone render to cure according to the manufacturer’s recommendations. This can take several days, during which you should protect the surface from rain and excessive moisture.
Step 6: Painting (Optional)
If you desire a specific color for your exterior, you can paint over the silicone render once it’s fully cured. Choose a high-quality exterior paint suitable for rendering surfaces.
Conclusion
By following this step-by-step guide, you can successfully apply silicone render to your home’s exterior, enhancing its durability and appearance. Remember to prioritize safety throughout the process by wearing appropriate protective gear. If you’re uncertain or uncomfortable with any step, it’s always wise to seek professional assistance.
Transform your UK home with the weather-resistant and aesthetically pleasing benefits of silicone render. Enjoy the peace of mind that comes with knowing your property is well-protected against the British elements.
If you have further questions or require professional assistance with your exterior wall coatings, don’t hesitate to contact us at All Weather Coating. We’re here to help you achieve the best results for your home improvement projects.