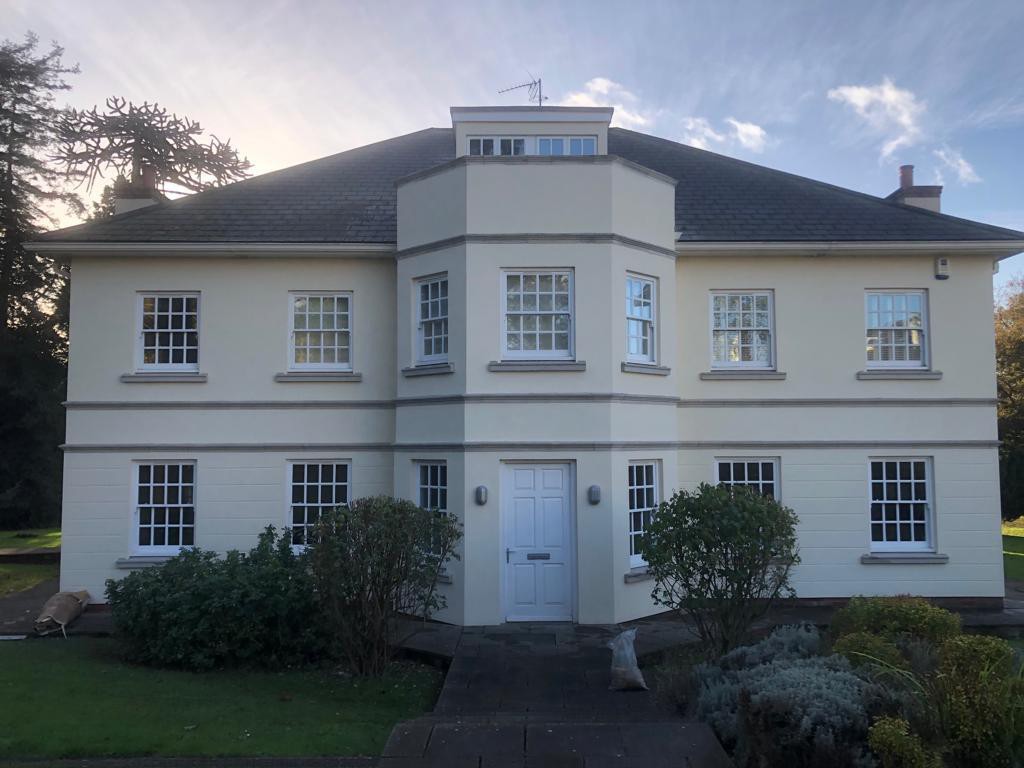
Even though some interior walls are smooth, rendering walls have a stucco coating over the underlying brick or wood surface, making painting a breeze. While many homeowners opt not to paint their freshly rendered walls, a colour coat will assist in protecting the surface and provide a nice finished look.
Is it possible to paint over rendered walls?
If your home is made of bricks, rendered walls are pretty frequent. However, don’t be concerned about painting on the surface of the render. Yes, the render can be painted over. You could be an artist of your rendered wall with the correct tools and the right paint.
On rendered walls, what sort of paint do you use?
Paints created expressly for rendered walls, such as epoxy or acrylic, are the best choice. These paints dry quickly and are colourfast, meaning they won’t fade in direct sunshine.
Tips for painting a rendered wall
The tips for painting freshly rendered walls are outlined below.
1. Allow your freshly painted walls to cure
According to many builders, new stucco takes about 90 days to cure the wet rendering. When you start to paint early, the paint is more likely to be blustered or peeled.
2. Clean the Walls
You can clean your walls with warm water and a cellulose sponge containing dishwashing soap. While freshly rendered walls may appear clean, unseen fingerprints can prevent your paint from adhering correctly.
Clean water must be used to remove the soap residues from the walls. Allow 24 hours for the walls to dry. A tack cloth can remove lint, dust, and cobwebs from your home. Gently run the cloth over the surface of your walls. The stucco finish should not be rubbed or scrubbed.
3. Inspections should be done correctly
One of the most critical parts is inspecting the surface you will be painting over. As you can see, moss, minor cracks, old paint, and crack fixes are common difficulties with render.
You will need an eagle’s eye to scrutinise every feature on the depicted surface. Also, if you have recently rendered the wall, you might want to remove a portion of it and let the renders cure properly first. Otherwise, many cracks may emerge over time. Just as we let the paint dry, we should also let the render dry. The water in the mixture of the render evaporates completely, revealing the actual side of the rendering.
4. Tape the areas around the stucco walls using painter’s tape
Adjacent walls, ceilings, trim, and entrances are examples of these locations. Cover the floors and furniture with a plastic sheet or drop cloth to protect them from paint damage.
5. Any cracks should be repaired
If you discover any cracks, act quickly to patch them. Apply a tiny bit of render to any cracks or holes you see and smooth it out. Allow time for the coating to set before inspecting for any remaining holes or cracks.
6. Sand over the Render
After the entire render has dried, check whether the whole wall is even. There’s a risk that the render is inconsistent most of the time. You’ll only need to sand the render as you did before, and you can sand the render in locations where it is uneven with a sander.
7. Prime the walls with a coat of primer
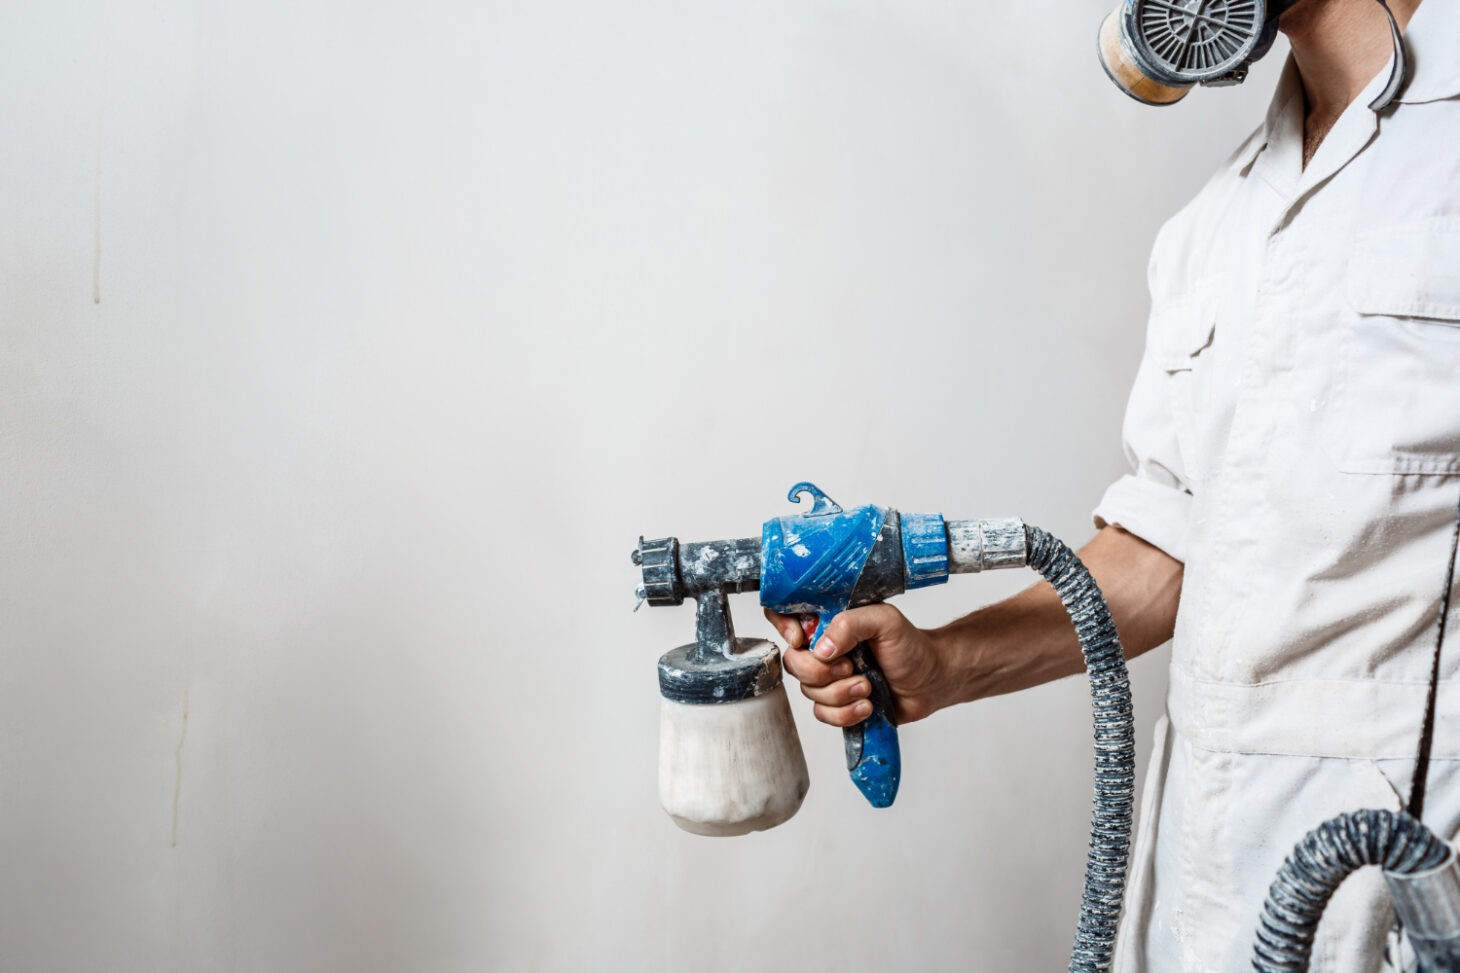
Select a primer made specifically for stucco finishes. Brush it all over the place, including the windows, doors, and other things. It would be best to use a paint roller with a nap thickness of 1.5 inches. The primer must be applied to the walls with a roller in a horizontal zigzag followed by a vertical zigzag to ensure that the entire wall surface is covered. Allow the primer to dry for the time specified on the label.
8. Over the primer, apply the colour coat
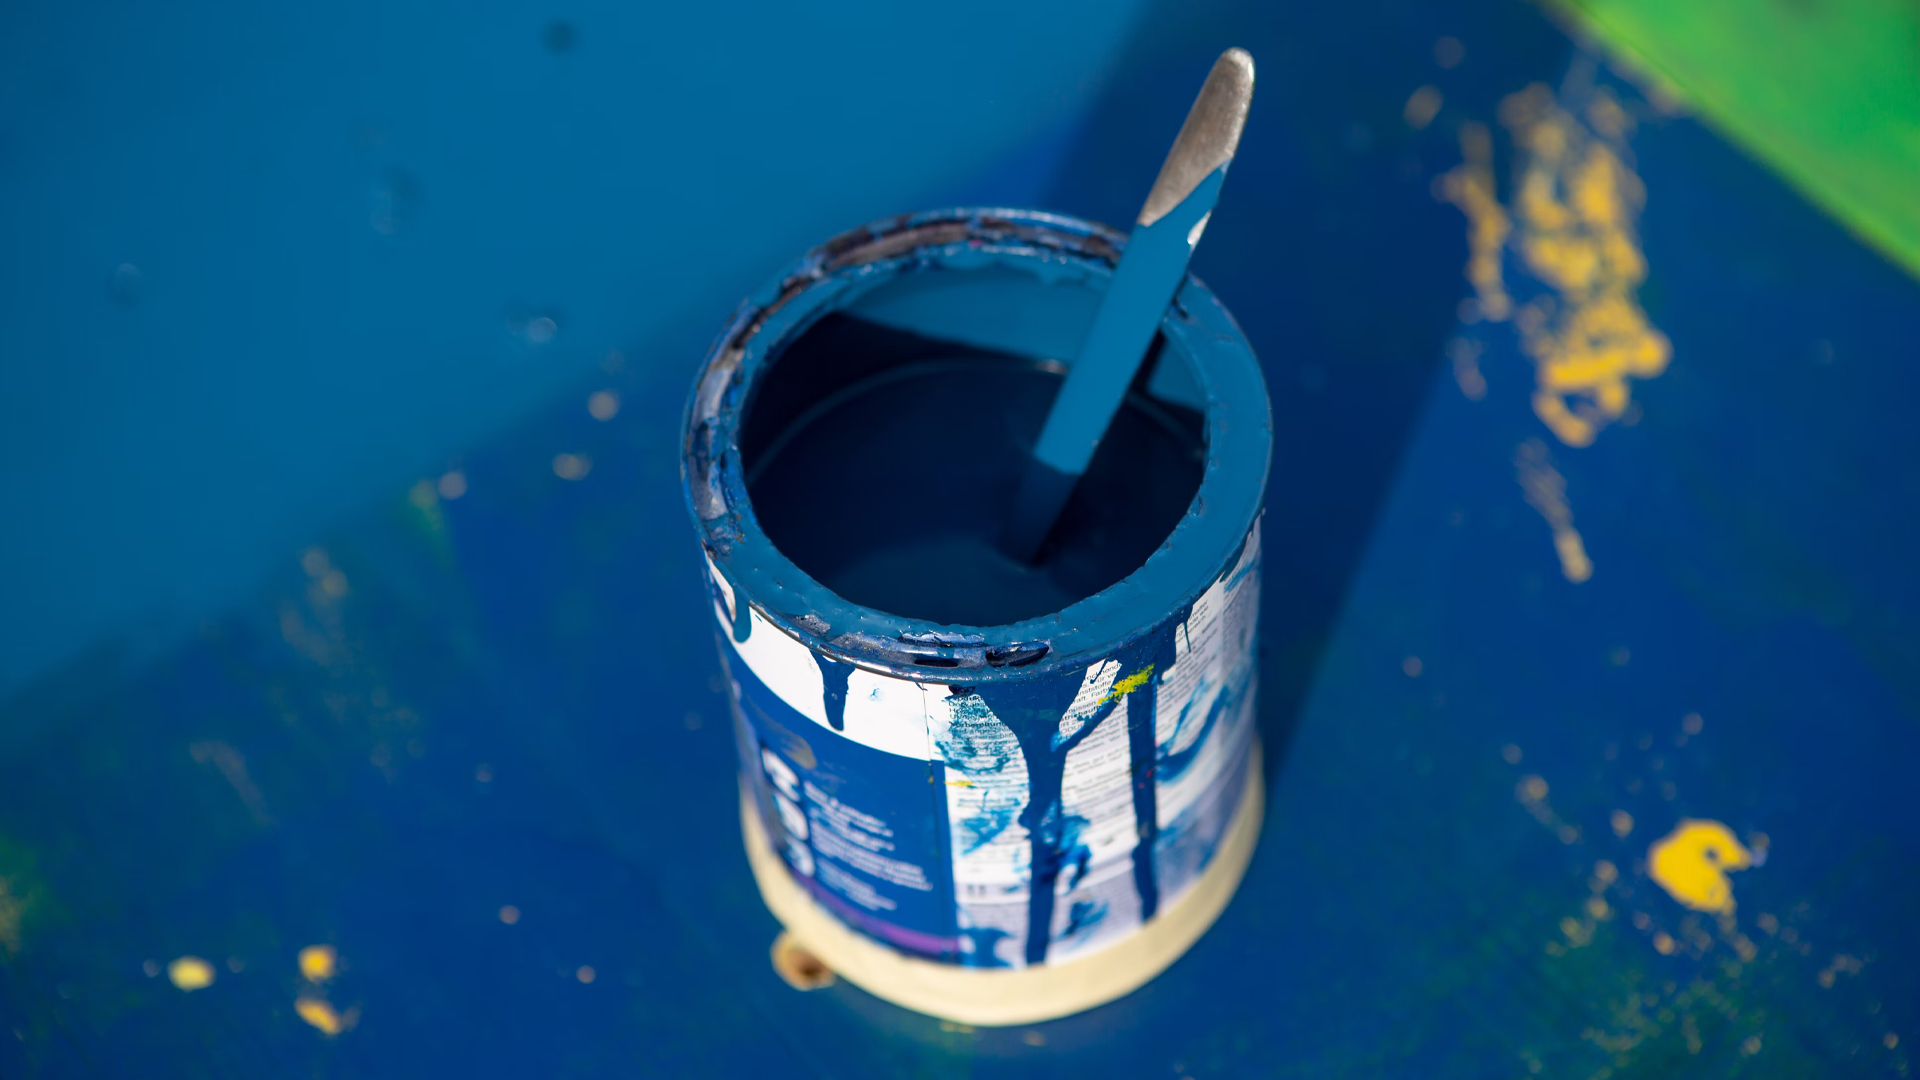
It’s time to start painting after the priming has been set. So, open up the paint container and prepare your paint for application. It’s essential to remember to stir the contents of the can after you have opened it and stir for as long as possible to avoid the paint becoming sticky and thick.
Take the paintbrush and apply only a tiny bit of paint to it. Then, gradually apply the paint to the render. Do not take too much paint, or you’ll spill it all over the floor. Allow enough time for the paint to dry on the render when you’ve finished.
9. If necessary, apply a second coat.
After the first render coat has dried, double-check to see if you have missed any spots. Apply another coat if you missed a spot on the render or don’t think you have the required layer.
It doesn’t matter the number of times the coats you apply; the important thing is to ensure that each one dries completely. Otherwise, it could be disastrous for the paint, leading it to come off.
Is it possible to paint over the render now? You’re more prepared than ever to paint over the render.
Conclusion
According to most experts, you should paint every five to 10 years, depending on where you live, the environment and weather, and the last paint job. Also, take in mind that each surface will vary slightly. Consider the following scenario: Wood siding should be replaced every 3-7 years, or every four years if stained.
You have all the necessary information and instructions for painting over the render. Nothing can stop you if you want to become a painter today. However, if something goes wrong, you have many painters at your disposal. So, don’t be concerned, and try painting yourself. You never know; the outcomes might wow you as well.