Key Take Aways
Filling brickwork is not just aesthetic — it’s vital for preventing moisture penetration, which can lead to structural damage and damp issues.
Start with a thorough damage assessment: check for cracks, crumbling mortar, moisture signs like efflorescence, and underlying causes such as drainage or foundation issues.
Choose the right materials: use weather-resistant fillers for minor cracks and masonry mortar mixes for larger gaps; ensure compatibility with your existing brickwork.
Preparation is key: clean away debris and salt deposits, ideally with a stiff brush or pressure washer, and wait for the surface to dry thoroughly.
Mix filler or mortar to the correct consistency — firm but workable — and apply deeply into cracks, smoothing to match the surrounding brickwork.
Allow sufficient curing time (often 24–48 hours); environmental conditions may require covers or protection during curing.
Once cured, apply a breathable weatherproof coating to shield against moisture while allowing internal damp to escape.
Implement regular inspections, especially after extreme weather, to spot new damage early and address it before it worsens.
For extensive damage, historic buildings, or if unsure, seek professional help — they can offer expert diagnostics and tailored, long-lasting solutions.
How to Fill Brick: Ensuring Durability and Protection for Your Home
Brickwork is a fundamental aspect of many UK homes, known for its durability and aesthetic appeal. However, over time, bricks can suffer from wear and tear due to weathering, moisture, and other external factors. Learning how to fill brick is crucial for maintaining the integrity and appearance of your home. This guide provides a step-by-step approach to filling brick, ensuring your home remains weatherproof and visually appealing.
Why Fill Brick?
Filling brick is not just about aesthetic maintenance; it’s a vital part of preserving the structural integrity of your home. Cracks and gaps in brickwork can allow moisture to penetrate, leading to damp issues and potential damage to the internal structure. Timely repair and filling of these gaps can prevent extensive and costly repairs in the future.
How to Fill Bricks: Step by Step Guide
1. Assessing the Damage: A Critical First Step
Before embarking on the task of filling brick, a thorough and careful assessment of the damage is crucial. This initial step is more than a cursory glance; it involves a detailed inspection of the brickwork to identify all areas that require attention. Here’s how to effectively assess the damage:
- Visual Inspection: Start with a visual survey of the entire brick surface. Look for visible signs of damage such as cracks, holes, crumbling mortar, and loose bricks. Pay special attention to areas around windows, doors, and corners, as these are often more prone to wear.
- Identify the Cause: Understanding what caused the damage can guide the repair process. Common causes include weathering, moisture intrusion, poor drainage, or foundational shifts. Identifying the root cause is essential to ensure that the same issue doesn’t recur.
- Check for Moisture: Moisture is a common culprit for brick damage. Look for damp spots, mold growth, or efflorescence (white, powdery residue), which indicates water penetration.
- Assess the Extent of Damage: Determine the depth and severity of cracks and holes. Superficial cracks may only require simple filling, while deeper cracks might need more extensive repairs. For loose or damaged bricks, decide whether they can be re-set or need replacement.
- Safety Considerations: Check if the damage poses any immediate safety risks, such as loose bricks that could fall. Safety should always be a priority.
- Document the Damage: Taking photos can be helpful, especially if you plan to seek professional advice or services. It provides a clear record of the damage and can assist in explaining the issues to experts.
- Decide on DIY vs Professional Help: Based on your assessment, decide if the repair is something you can handle yourself or if it requires professional expertise. Extensive or structural damage is best left to professionals.
This comprehensive assessment forms the foundation for effective and lasting brick repairs. It ensures that you address not just the symptoms of the damage but also any underlying issues, leading to a more durable and resilient brickwork.
2. Choosing the Right Materials
Selecting the right filler is crucial. For minor cracks, a high-quality, weather-resistant filler is sufficient. For larger gaps or damaged bricks, consider using a masonry mortar mix. Ensure the products you choose are suitable for exterior use and compatible with the existing brickwork.
3. Preparing the Area
Clean the area thoroughly before applying any filler. Remove loose debris, dust, and any efflorescence (white salt deposits) using a stiff brush. For deeper cleaning, a pressure washer can be used, but ensure the brickwork is completely dry before proceeding.
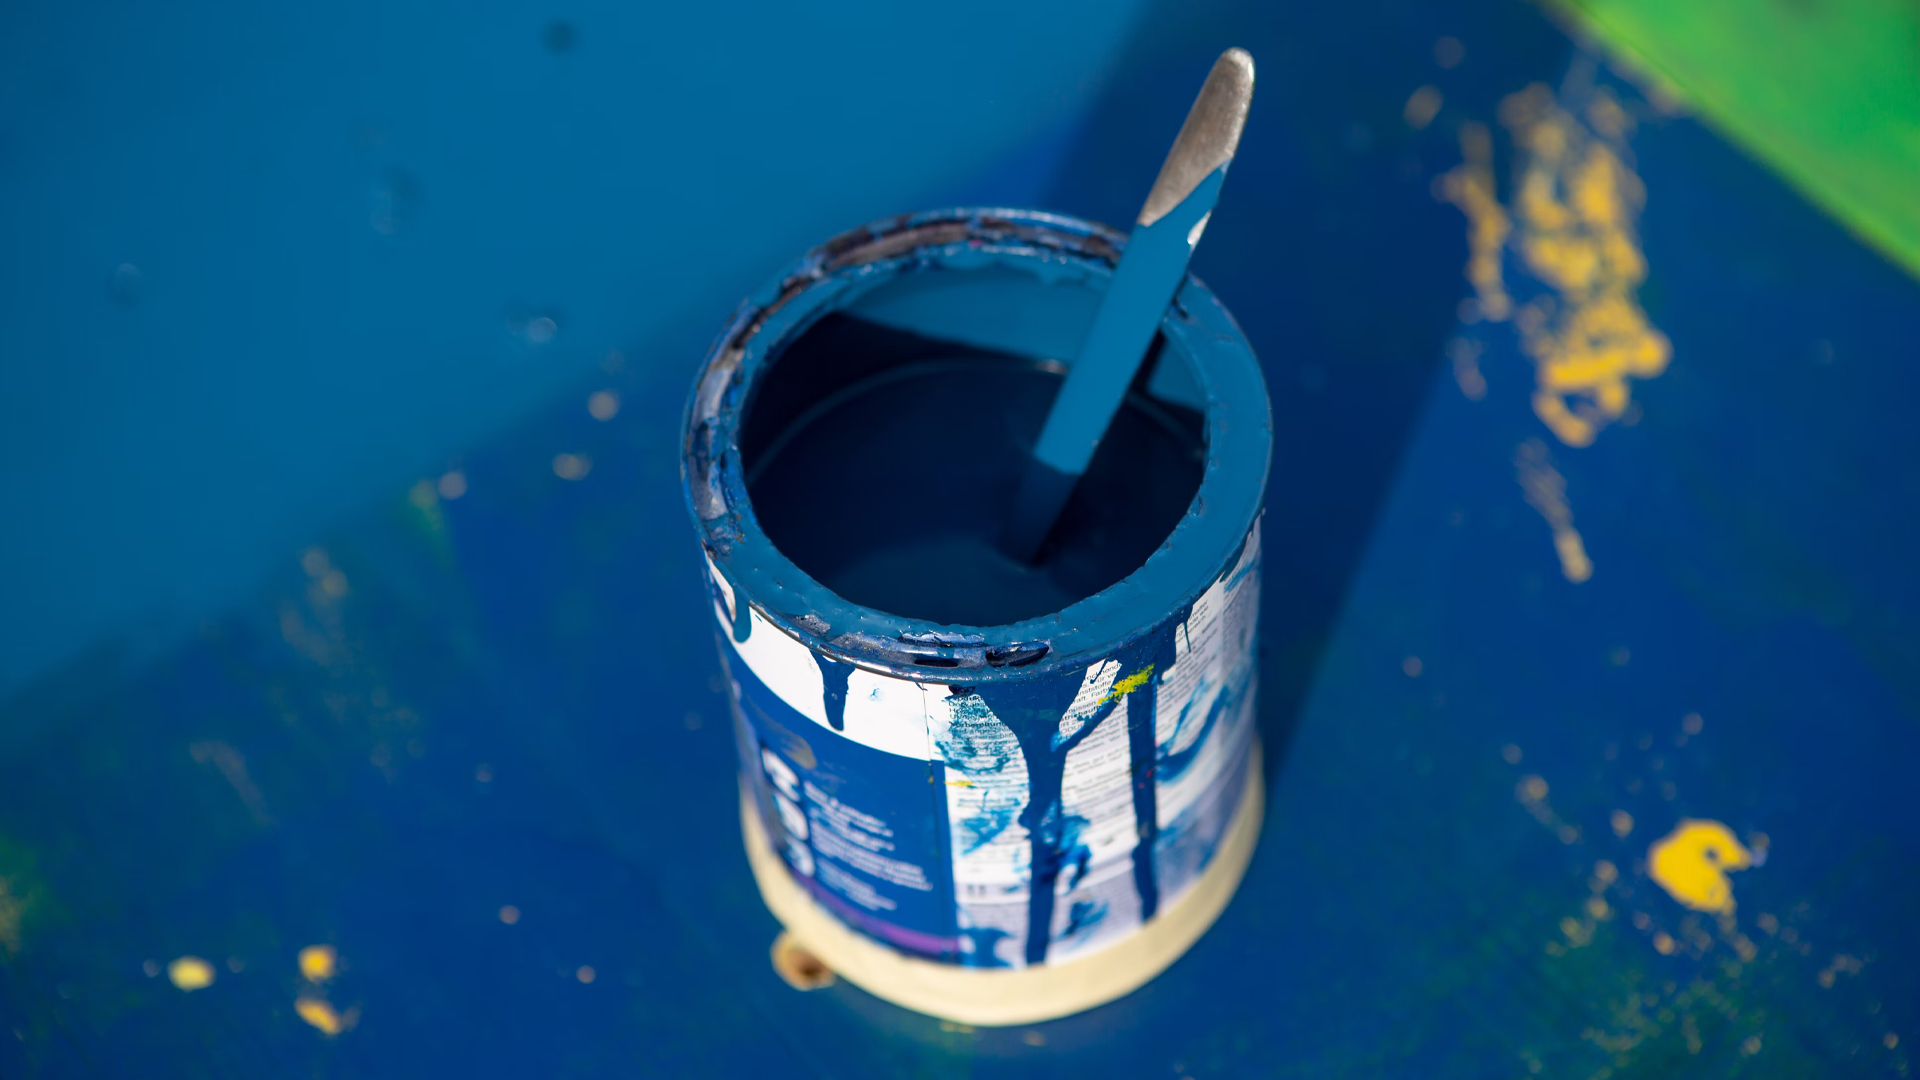
4. Mixing the Filler
If you’re using a mortar mix, follow the manufacturer’s instructions for mixing. The consistency should be firm enough to hold its shape but pliable enough for easy application.
5. Applying the Filler
For small cracks, a filling knife or spatula can be used to apply the filler. Ensure the filler is pushed deeply into the crack for a secure fix. For larger repairs, a pointing trowel may be necessary. Fill the gaps or replace damaged bricks, shaping the mortar to match the existing brickwork.
6. Smoothing and Finishing
Once the filler is applied, smooth it out to ensure it’s level with the surrounding brickwork. Be quick and precise, as some fillers can set rapidly. Use a damp sponge or brush to clean any excess filler from the bricks.
7. Curing and Protection: Essential for Longevity
After filling the brick, it’s imperative to allow the filler to cure properly and to protect the repaired area for long-lasting results. Here’s an in-depth look at this crucial stage:
- Curing Process: The curing time for mortar or filler can vary depending on the product and environmental conditions. Generally, it takes about 24-48 hours for the filler to set, but it can take longer for it to fully cure. During this period, the filler undergoes a chemical process that solidifies it and binds it to the brickwork. It’s important to follow the manufacturer’s guidelines for curing times to ensure optimal strength and adherence.
- Environmental Considerations: The curing process can be affected by weather conditions. Extreme temperatures, either hot or cold, can hinder the curing process. Similarly, rain or high humidity levels can also impact the effectiveness of the cure. If possible, plan your repair work during mild, dry weather. If you must work in less-than-ideal conditions, take steps to protect the area, such as using a temporary cover to shield it from rain or direct sunlight.
- Post-Cure Inspection: Once the curing period is complete, inspect the repaired area to ensure that the filler has set correctly and there are no gaps or cracks. A solid and even repair indicates a successful application.
- Applying a Protective Coating: After the filler has fully cured, applying a weatherproof coating is a wise step. This coating serves as an additional barrier against moisture, temperature fluctuations, and other environmental elements that can cause damage. Choose a high-quality, breathable coating designed for exterior brickwork. It should allow moisture from inside the house to escape while preventing external moisture from penetrating.
- Regular Check-Ups: Even after a successful repair and protection, it’s important to regularly inspect the brickwork. This helps in early detection of any new damage or deterioration, ensuring that minor issues can be addressed promptly before they escalate.
- Professional Assistance: For homeowners who are not comfortable with DIY projects or if the brickwork requires extensive repair and protection, seeking professional help is advisable. Experts in brick repair and exterior wall coatings can provide a comprehensive solution that ensures both the aesthetic appeal and structural integrity of your home.
Proper curing ensures the durability of the repair, and additional protection extends the lifespan of your brickwork.
8. Regular Maintenance
Regularly inspect your brickwork for signs of damage. Early detection and repair can prevent more significant issues down the line. Additionally, consider scheduling professional inspections, especially after extreme weather conditions. Remember, a well-maintained exterior is not only about curb appeal but also about preserving the safety and value of your home.
Conclusion
Filling brick is a vital aspect of maintaining your home’s exterior. By following these steps, you can ensure your brickwork remains in excellent condition, preserving the aesthetic and structural integrity of your home. For larger or more complex brick repairs, it’s advisable to consult with a professional.
At All Weather Coating, we understand the importance of maintaining your home’s exterior. Our range of services includes professional brick filling and weatherproof coatings, tailored to protect UK homes against the elements. If you need assistance or wish to learn more about our services, don’t hesitate to contact us or send an enquiry. Protect your home with All Weather Coating – where durability meets excellence.