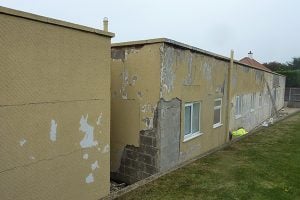
You might not think of render as something that could crumble, but over time it can happen, and if you have an old render it might already be crumbling away right now and you just haven’t noticed. Luckily there are steps you can take to fix crumbling render before it becomes too bad and you need to replace the entire thing.
There are certain things that you need to know about fixing crumbling render and what causes it in the first place, so you can prevent further damage from occurring.
When it comes to rendering repair, it’s important to take notice of the warning signs before it’s too late and the render becomes irreparably damaged.
Unfortunately, a crumbling render isn’t something you can fix overnight, but that doesn’t mean it’s not something you should fix at all! If you let it go too long, your walls may start to crumble on their own and you’ll be left with more work than you’d like to deal with.
Here are some tips on how to fix crumbling render before the problem becomes too big and you wind up having to pay more money down the line to have it fixed by professionals.
Assess the Damage
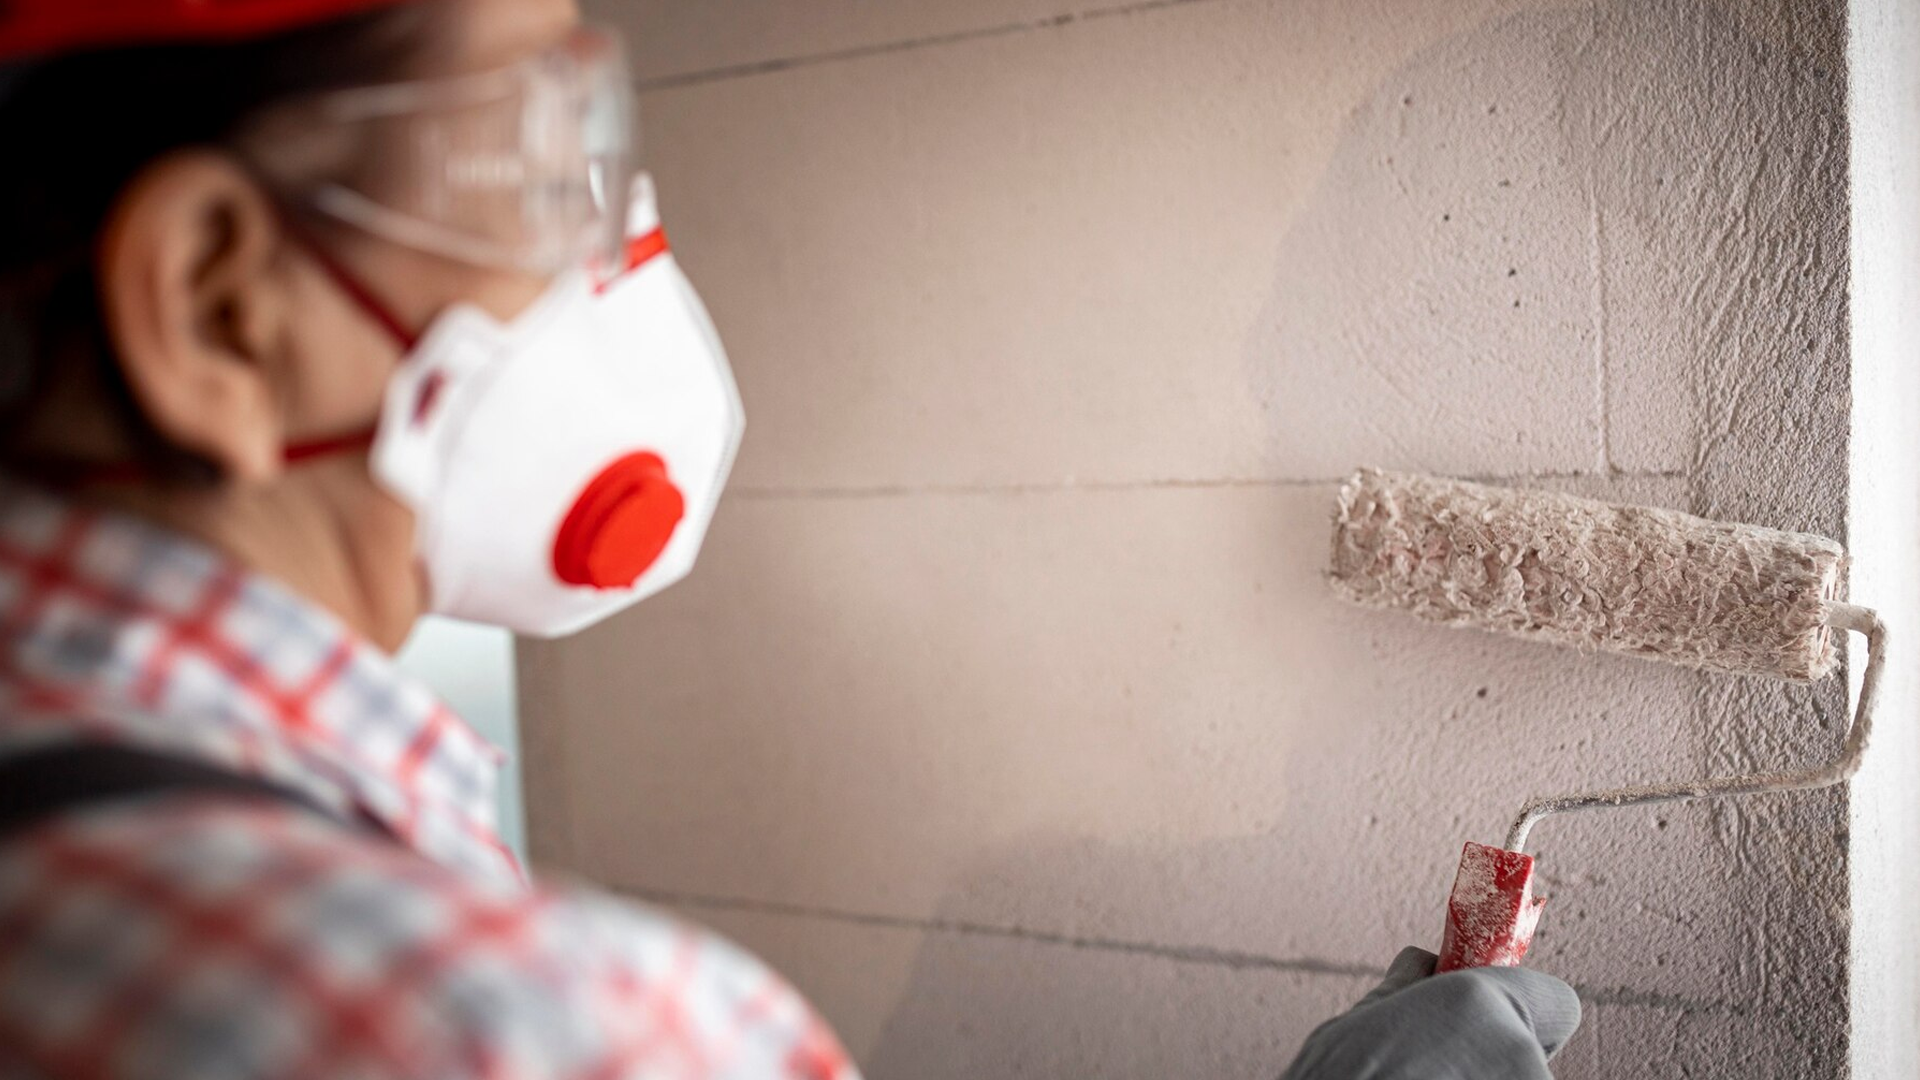
If your render is starting to crumble, there are a few things you can do. One option is to coat the surface with a sealant like silicone. This will prevent the render from crumbling and may even help it adhere better.
If this doesn’t work, you’ll need to replace the render or start over with a new base coat of paint. It’s not as expensive as you might think to have someone repaint your exterior; just make sure they’re using an exterior paint specifically formulated for metal surfaces.
You should also use a primer before painting so that any dirt or grease on the surface will be sealed in and won’t bleed through when it rains. The more porous materials around your house, such as vinyl siding, stone, brick, stucco, and wood require specialised primers which typically come in quarts rather than gallons.
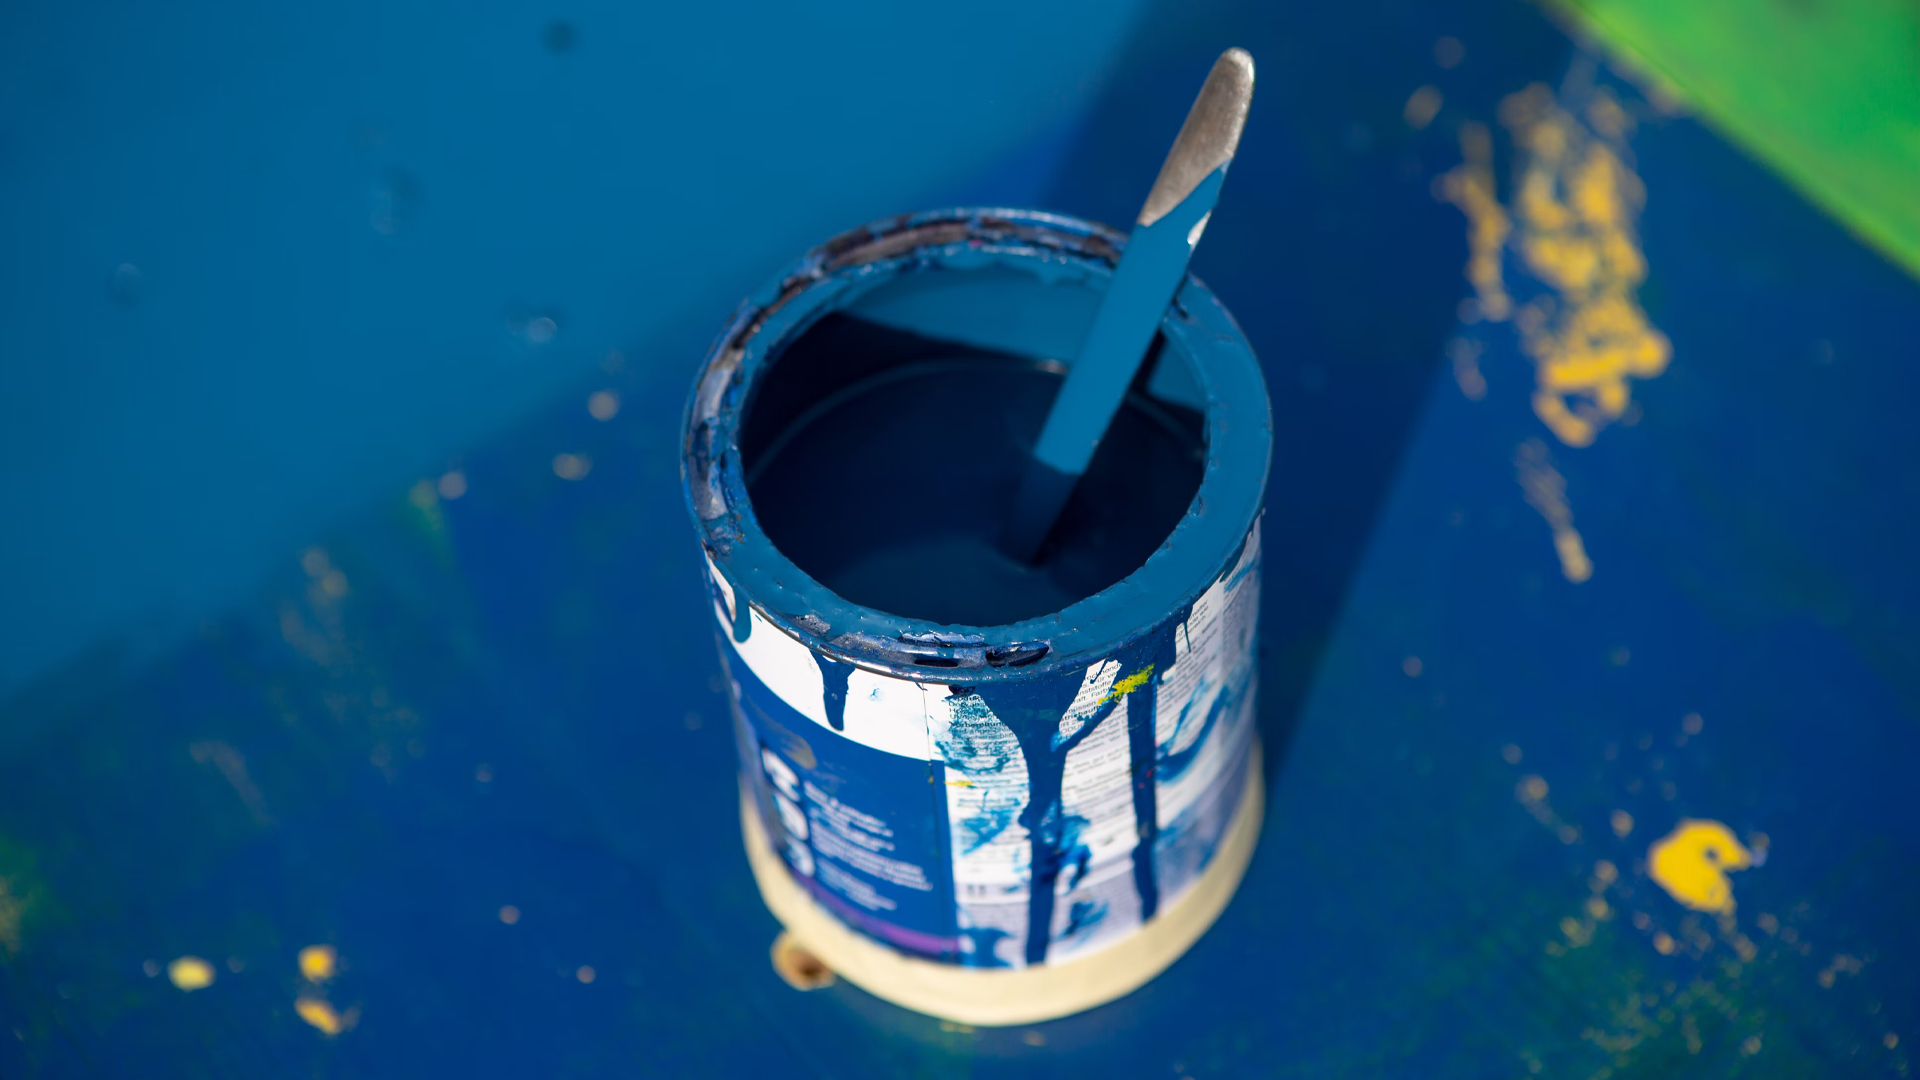
Choose the Right Materials
It’s important that you use the right materials for the job. For instance, if you want to fix a crumbling render, you’ll need a type of paint made for plaster surfaces.
You should also consider what colour your render is before buying any paint.
The most common colours are white, black, and brown; therefore, if your render has a brown colour already, it doesn’t make sense to buy white or black paint because they will stand out and clash with the existing colour.
On the other hand, if your render is pure white, then those two colours might be perfect for camouflaging.
Follow the Instructions
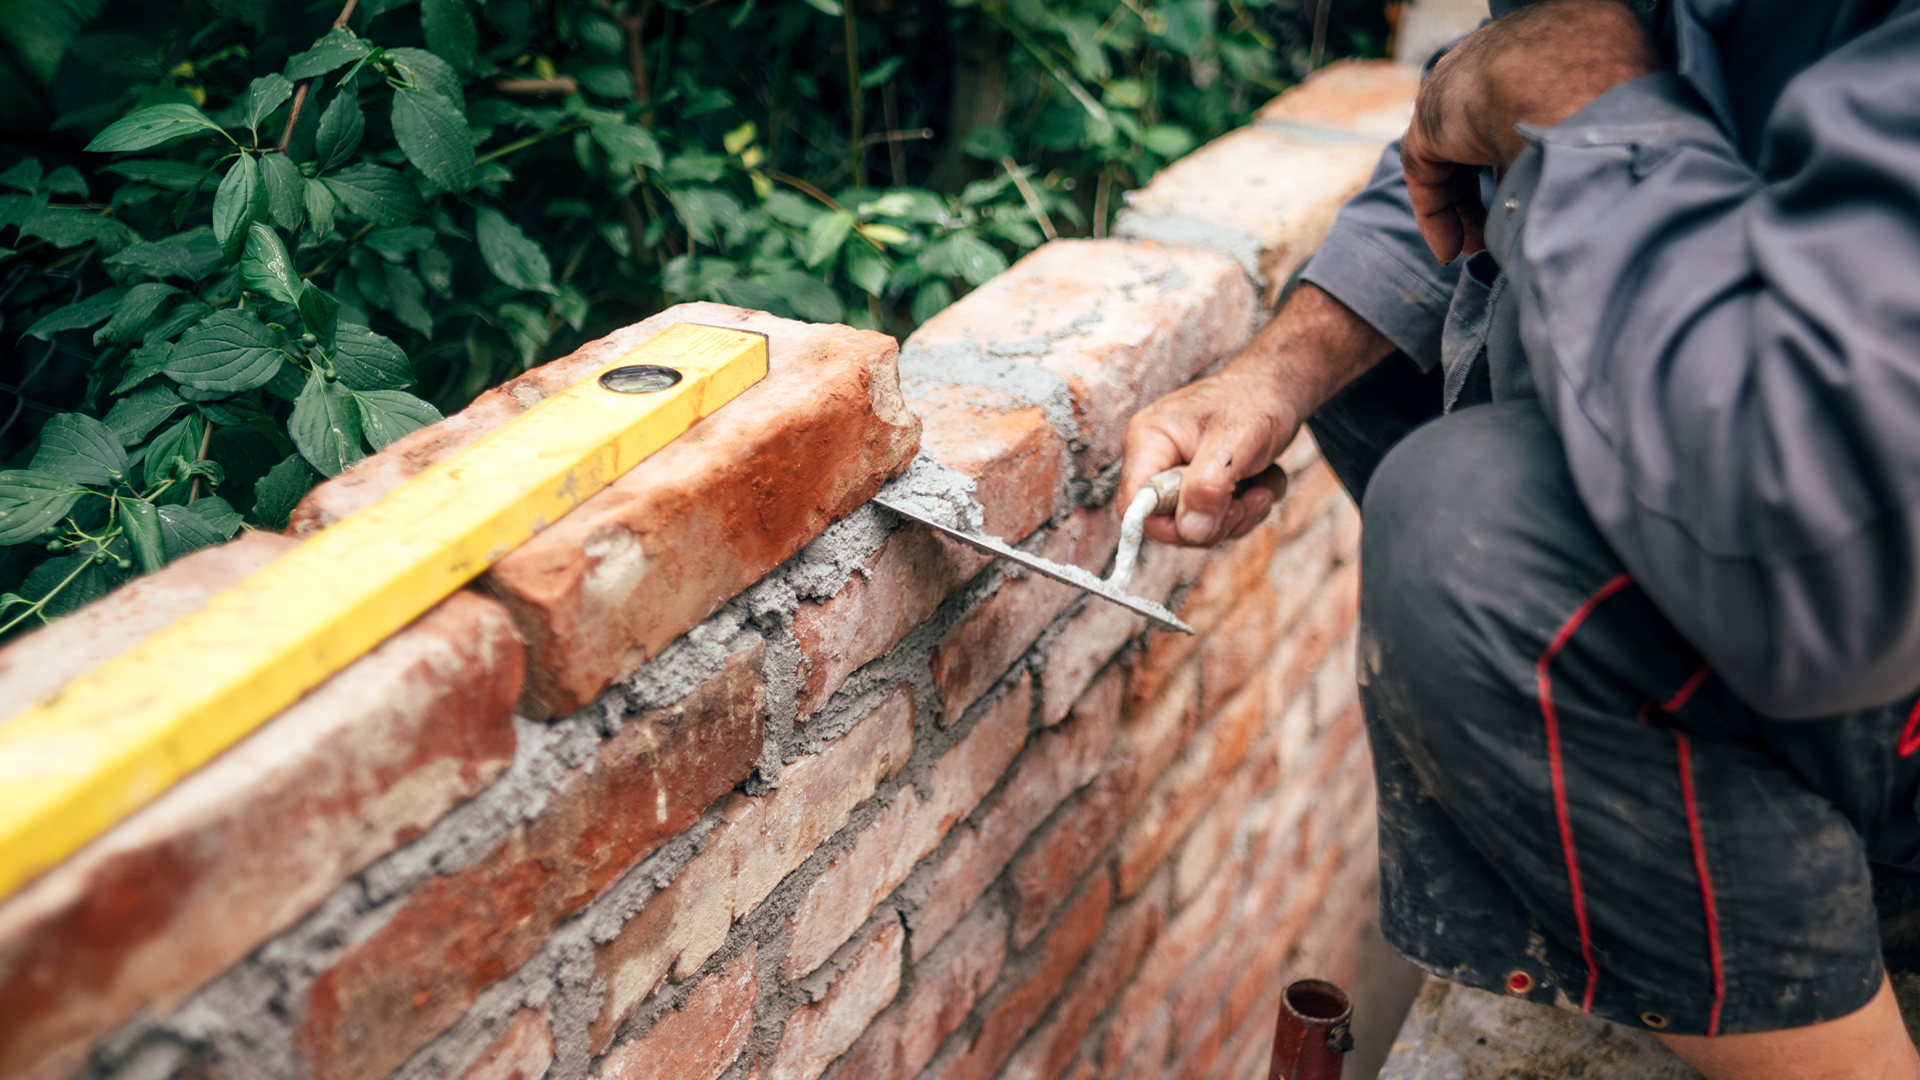
To fix your crumbling render, you will need the following items: a bucket, warm water, a stiff-bristled brush, steel wool pads, and a nylon scrubber.
First, remove as much of the loose material as possible with the brush and nylon scrubber. Use the steel wool to scrub away any remaining dirt or debris on the surface of your walls.
Next mix warm water with some dish soap in your bucket and use this mixture to wash down your walls. Rinse away any soap residue with clean water and dry off any excess moisture from the wall.
Finally, reapply another layer of paint or plaster over your surface for protection against further damage and crumbling of your render.
A whole lot of people think that because their house is well over 100 years old, there’s not really anything they can do about their crumbling render and unsightly cracking surfaces. But by following these simple instructions to repair the problem before it gets worse, you’ll be glad you acted now instead of later!
Apply the Render
Crumbling render is one of the most common and frustrating home maintenance issues. Left untreated, the problem will only get worse, and your home may be at risk for water leaks, mould growth, and other costly problems. Here are some steps you can take to fix the crumbling render before it’s too late.
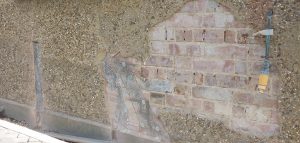
Identify the problem. Determine if the crumbling render is due to old age or an underlying problem like a faulty flashing installation or a leaky basement window.
If your home has recently been repainted or power-washed, this could have triggered the collapse of old paint that was glued onto the surface of your brick walls by providing a thin layer that crumbled off with ease.
In these cases, painting over the area should restore the surface of your bricks so they’re just as strong as they were when first installed.
Let it Dry
Crumbling render is a common issue for older buildings. In most cases, this is due to the materials being too wet for too long, which can cause peeling and cracking of the finish.
Removing all the old render may seem like a daunting task but it should be done sooner rather than later because as time goes on, the problem will only get worse.
Here are some simple tips that can help you fix your crumbling render before it’s too late:
1) Clear away any loose material and debris with a shovel, which will make the cleaning process easier.
2) Make sure that you wear gloves when doing this so you don’t cut yourself on old nails or other sharp objects that may be in there! Once you’ve cleaned out any debris, rinse down the surface thoroughly with a garden hose.
3) Don’t forget to use a scraper while you’re rinsing to remove built-up dirt and grime from the surface; this will prevent dirt from drying onto the surface when it dries out.
4) Apply an appropriate bonding agent (such as mortar or plaster), then let dry completely before applying new render coatings or paint.
Conclusion
When you notice your render is crumbling, don’t panic. You can fix this problem before the situation gets worse. The most important thing is to keep an eye on your render for any more signs of crumbling. If you see any, act quickly and take care of the issue as soon as possible before more damage can be done.