Introduction
It’s happened to the best of us: you’ve just finished a lovely plastering job, only to be greeted by an array of unsightly blisters. Don’t fret! In this comprehensive guide, we’ll explore the causes of blisters on plaster and provide expert advice on how to get rid of them.
So, whether you’re a seasoned DIY enthusiast or a plastering novice, we’ve got you covered. Our guide will walk you through the process of identifying the cause of those dreaded blisters, as well as providing step-by-step instructions to help you banish them for good.

Understanding the Causes of Blisters on Plaster
Before we can effectively address the issue of blisters on plaster, we need to understand the causes behind this common annoyance. Much like how rain on a bank holiday weekend seems inevitable, so too are blisters if we don’t take the proper precautions.
Moisture
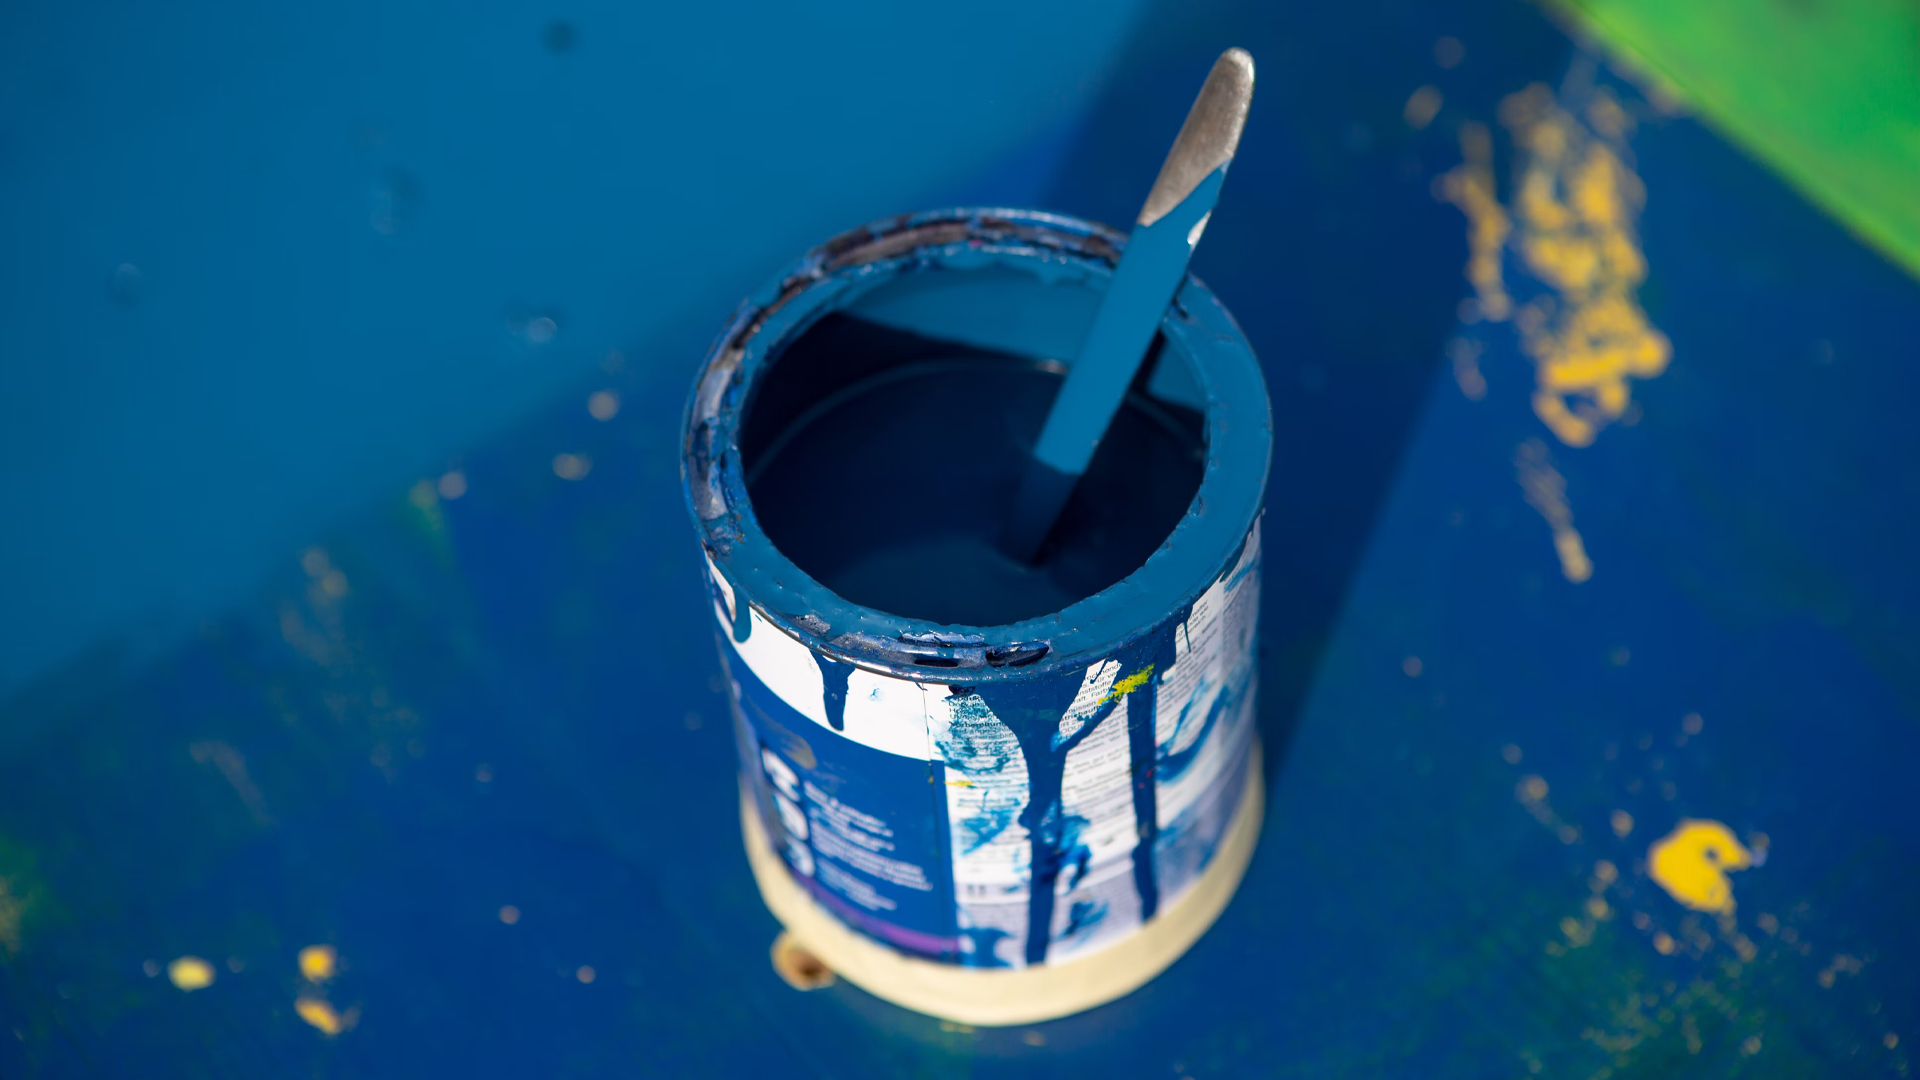
One of the primary causes of blisters on plaster is moisture. When water is absorbed by the plaster, it can cause the material to expand and eventually form blisters. This can be the result of poor-quality plaster, inadequate ventilation, or even a leaky roof or pipe. Think of it as plaster’s way of having a right old moan about its living conditions.
Bonding Failure
Another common cause of blisters on plaster is bonding failure. This occurs when the plaster does not properly adhere to the wall, causing pockets of air to become trapped between the layers. The result? You guessed it: blisters.
Improper Mixing or Application
Another potential cause of blisters on plaster is improper mixing or application of the plaster itself. If the plaster is mixed too thinly, it can become weak and prone to blistering. Additionally, if the plaster is applied too thickly or unevenly, it can result in air pockets and trapped moisture, which can also contribute to blister formation.
How to Get Rid of Blisters on Plaster
Now that we’ve covered the causes of blisters on plaster, it’s time to tackle the issue head-on.
Step 1: Identify and Address the Cause
Before you can effectively treat blisters on plaster, it’s crucial to identify and address the underlying cause. If moisture is the culprit, you may need to address any leaks or improve ventilation in the affected area. Consider installing extractor fans or investing in a dehumidifier to help regulate moisture levels.
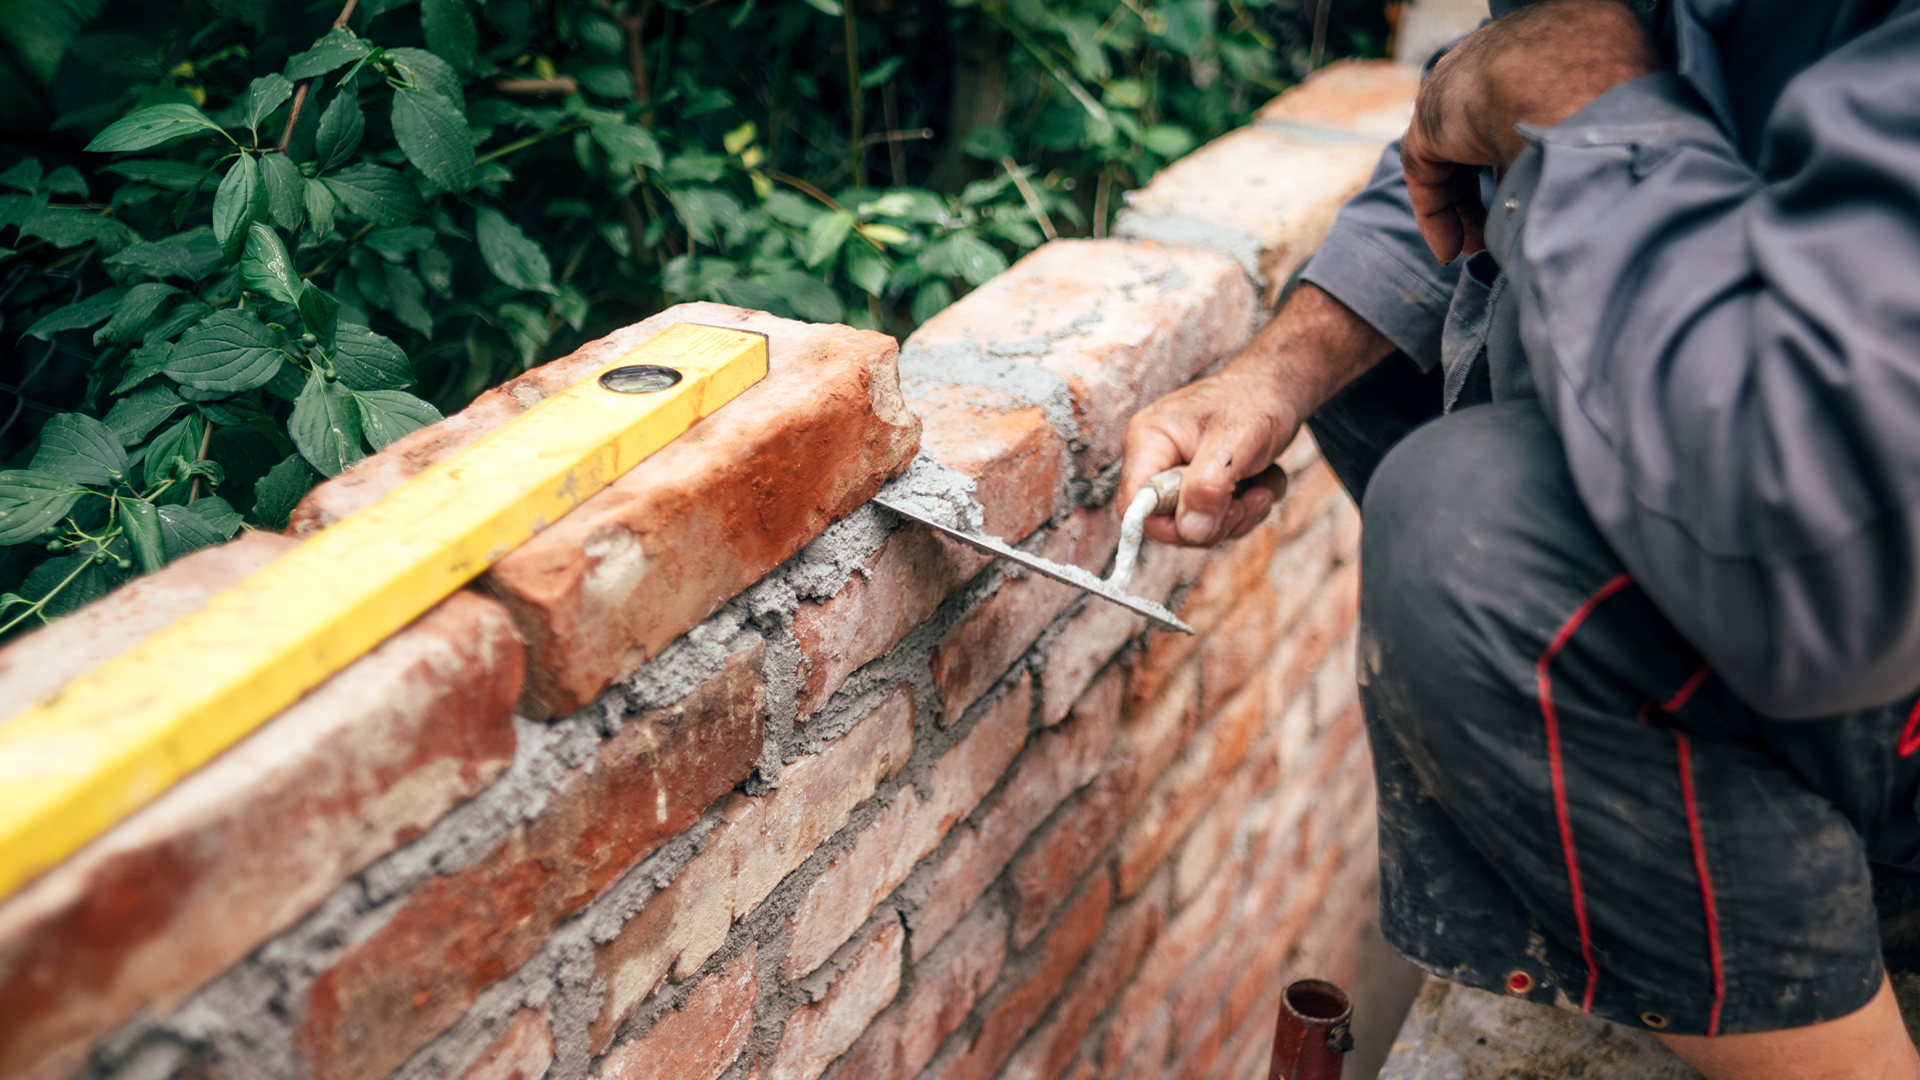
If bonding failure is to blame, you may need to remove the affected plaster and start afresh. It’s a bit like admitting defeat in a game of Monopoly, but sometimes it’s best to cut your losses and start anew.
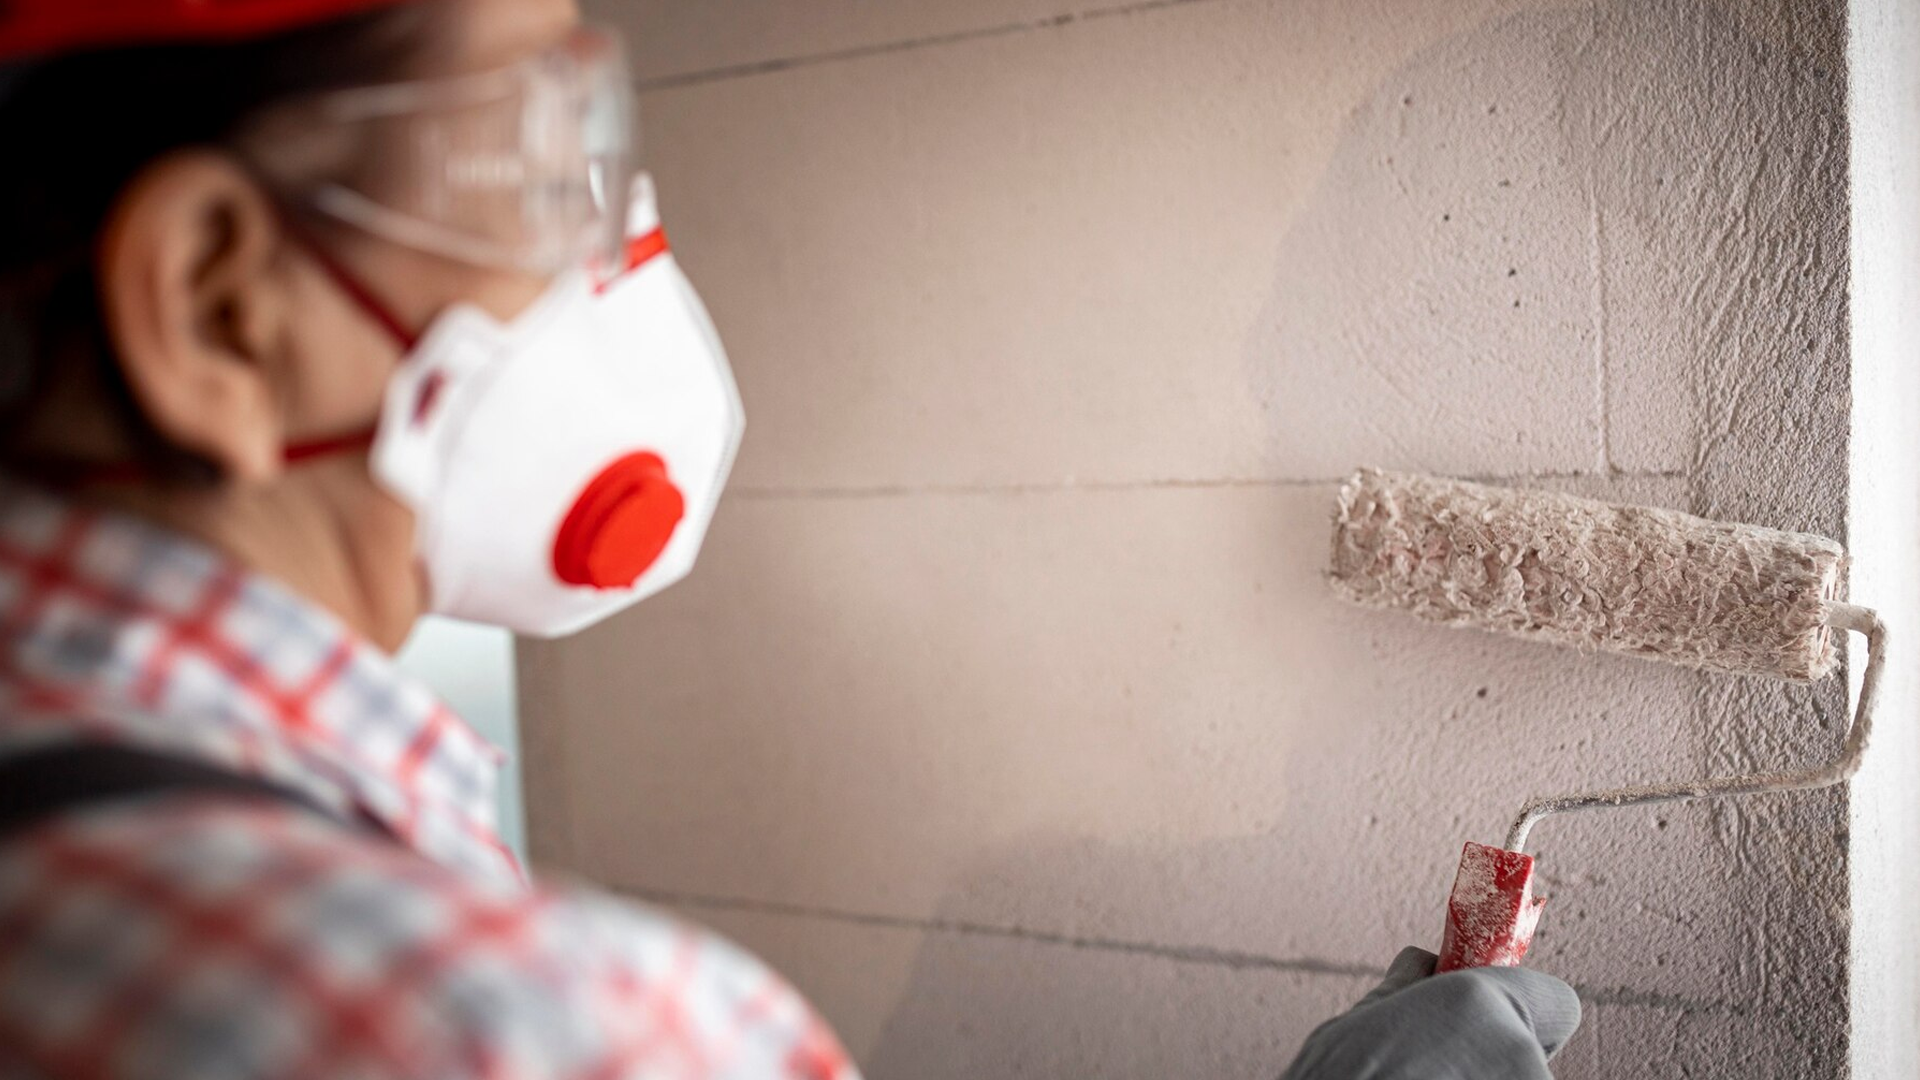
Step 2: Remove the Blisters
Once you’ve addressed the underlying cause, it’s time to remove those pesky blisters. Using a sharp scraper, carefully remove the blistered plaster, ensuring you don’t damage the surrounding area.
Step 3: Repair the Plaster
With the blisters removed, it’s time to repair the plaster. Apply a suitable filler to the affected area, smoothing it out with a filler knife or trowel. Be sure to feather the edges of the filler to blend it seamlessly with the surrounding plaster. It’s a bit like icing a cake, but far less delicious.
Step 4: Sand the Surface
Once the filler has dried, sand the repaired area using a fine-grit sandpaper to create a smooth, even surface. Remember to sand lightly and in a circular motion to avoid creating any scratches or uneven patches. Think of it as giving the plaster a gentle massage, not a vigorous scrub.
Step 5: Apply a Primer
To ensure a strong bond between the repaired plaster and the final finish, apply a high-quality primer to the area. This will not only help to seal the repaired surface but also provide a consistent base for the topcoat.
Step 6: Apply the Topcoat
Finally, apply the topcoat of your choice to the repaired area, blending it with the surrounding wall. Be sure to use a high-quality brush or roller for a smooth, professional finish. And there you have it: your plaster is now blister-free and looking as good as new!
Prevention is Better Than Cure
As with many things in life, prevention is often better than cure when it comes to blisters on plaster. To minimise the risk of blisters forming in the first place, be sure to use high-quality materials, ensure proper ventilation, and follow best practices for plaster application. It’s a bit like wearing sunscreen to avoid sunburn: a little effort upfront can save a whole lot of pain down the line.
Seeking Professional Help for Persistent Blisters on Plaster
While most cases of blisters on plaster can be resolved with the steps outlined above, there may be instances where the problem persists or is beyond the scope of a DIY approach. If you find yourself facing recurring blisters or suspect that there may be more extensive underlying issues, it’s a good idea to call in the professionals.
A qualified plasterer or exterior wall coating specialist like us at All Weather Coating will be able to assess the situation, identify the cause, and recommend the most effective course of action to resolve the issue. We have the expertise and equipment to handle even the most stubborn of blisters, so you can rest assured that your walls are in safe hands.
Conclusion
There’s no denying that blisters on plaster can be a real eyesore, but with our expert guide, you’ll be well-equipped to tackle this common problem. From identifying and addressing the underlying cause to repairing and refinishing the affected area, you now have all the knowledge you need to restore your plaster to its former glory.