Why You Need Wall Rendering: Costs, Pros, and DIY Guidance
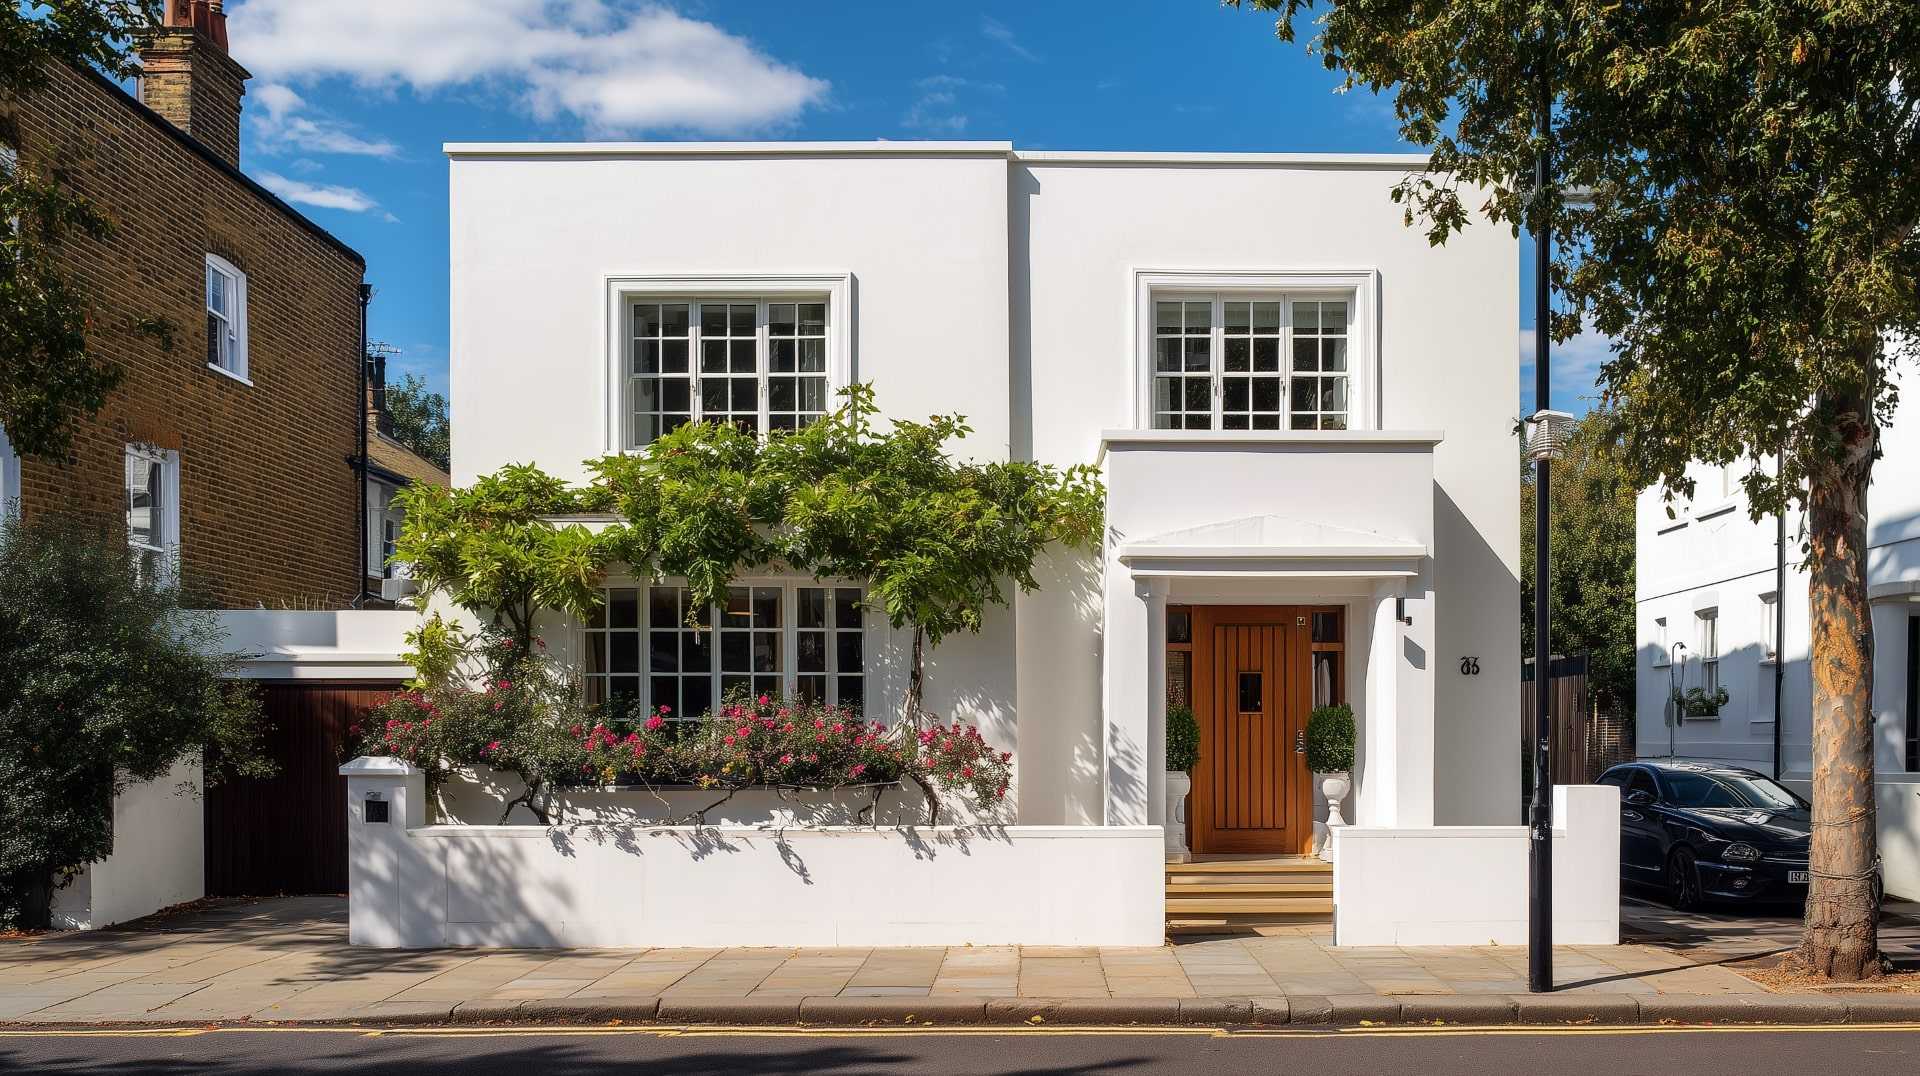
You’ll see a variety of homes in your area as you walk around. Some have plain bricks, while others have smooth, coloured models. If you see all of these different types, you might wonder why some homes choose to render and others don’t. Rendering is still a popular choice in 2025, and for good reason. It protects you better from the weather, enhances your home’s appearance, raises its value, and even lowers your energy bills. Before you look for wall rendering near me, understand its costs and pros.
Key Takeaways
- Many people choose rendering to fix most wall issues.
- Rendering makes things look better and uses less energy.
- A home that has been well-maintained can bring in buyers and raise the property’s value.
- You can render a wall yourself at home if you have the right tools.
- The final cost depends on factors such as the size of the area, the type of render used, and the scope of work.
Reasons Why Many Homeowners Think About Rendering
Rendering a home isn’t just about making it look better; it often fixes problems with the structure or comfort as well. People try to understand the meaning of rendering services to make their homes last longer, fix damage, and use less energy. These are some common reasons why they are needed:
Brickwork That Is Cracked or Broken
A lot of cracks show up in older homes because of weather damage or base changes. Rendering hides these flaws and makes the surface smooth again. It also keeps the building from getting worse. This makes it look better and makes it more stable.
Issues with Damp
Problems with wetness can happen when walls are porous or when cement render fails. Rendering helps seal the surface so that water can’t get through. This makes the shielding better and lowers the mould risk. It’s beneficial in places that tend to get wet.
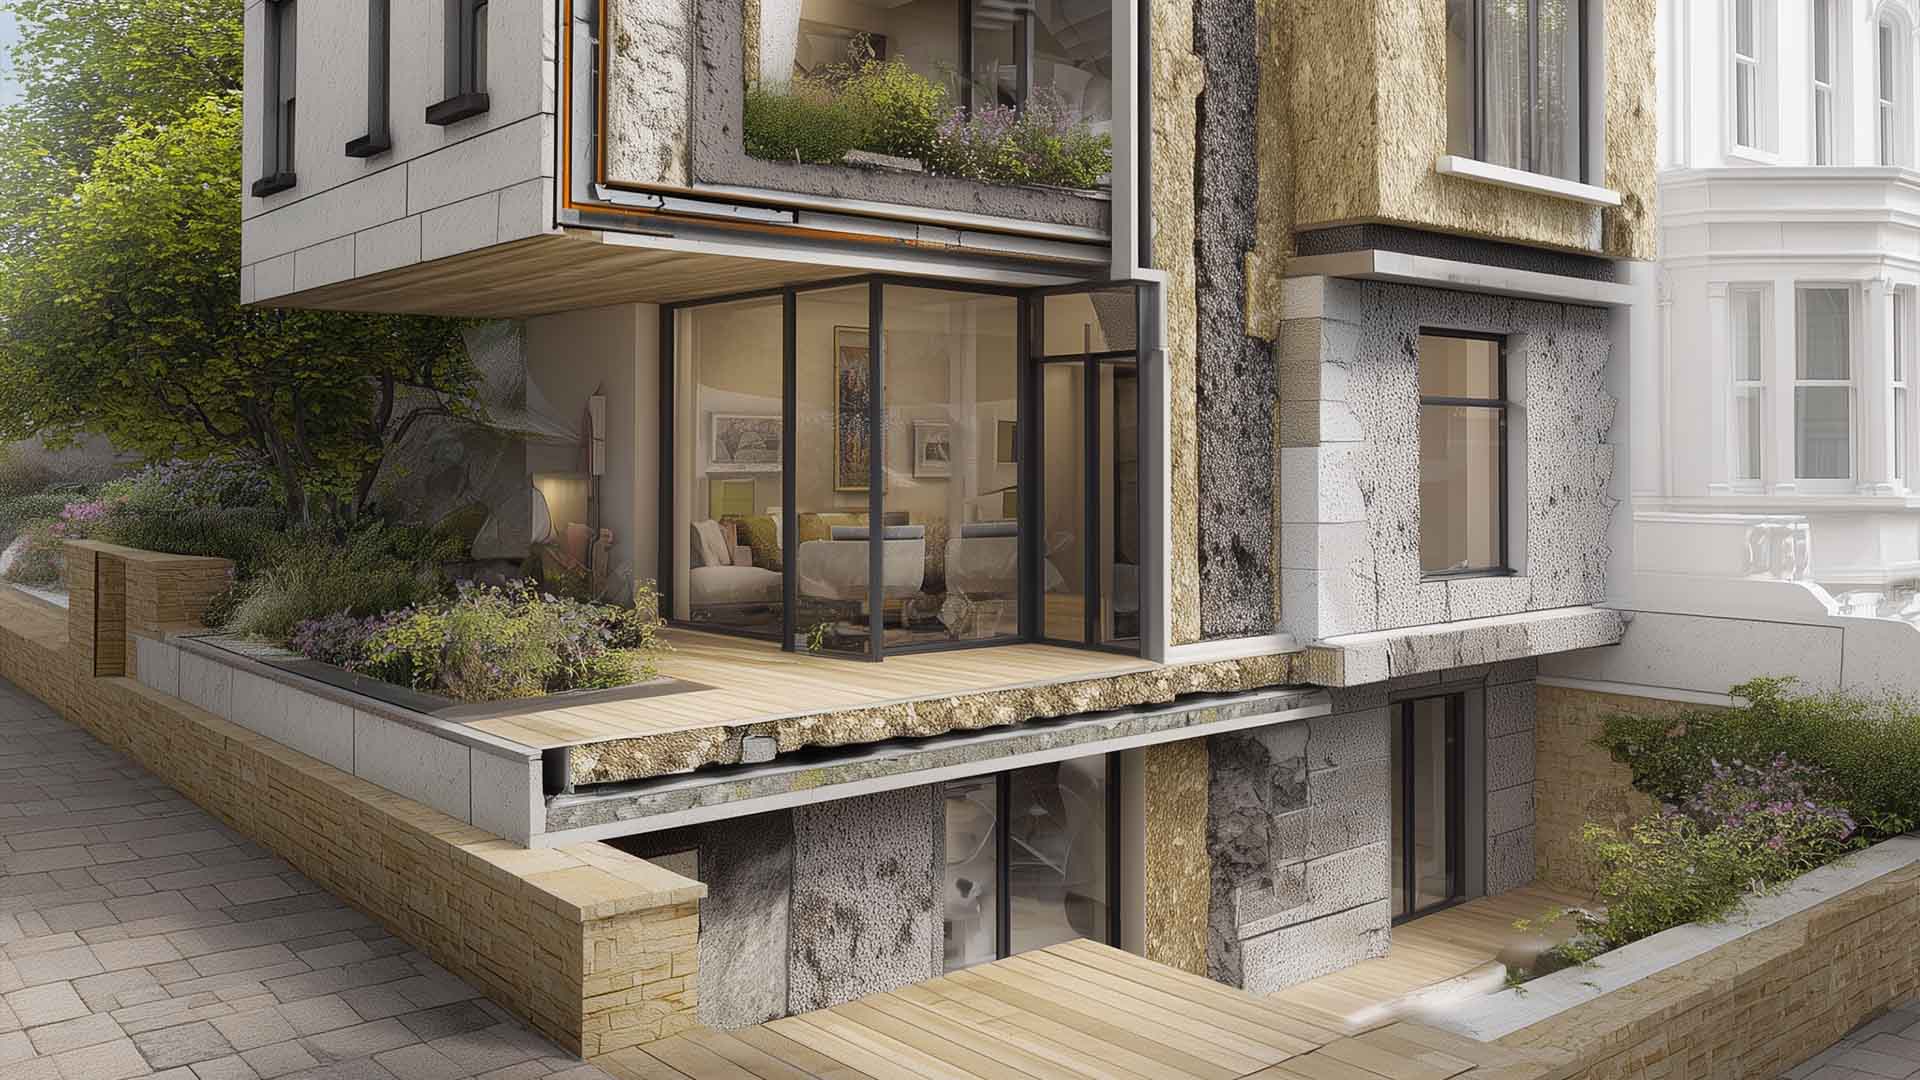
How Well It Uses Heat
These days, renders do more than just cover; they also improve insulation. Energy prices go down when walls let less heat escape. In the summer, homes stay calm and warm. It’s a simple way to improve temperature comfort.
Pros of Rendering a House
Rendering your home has many valuable and attractive benefits that go beyond just making it look better. You can also look for external rendering near me online. It’s a smart change, especially for older homes that get worn down over time and inclement weather. Here are some key benefits:
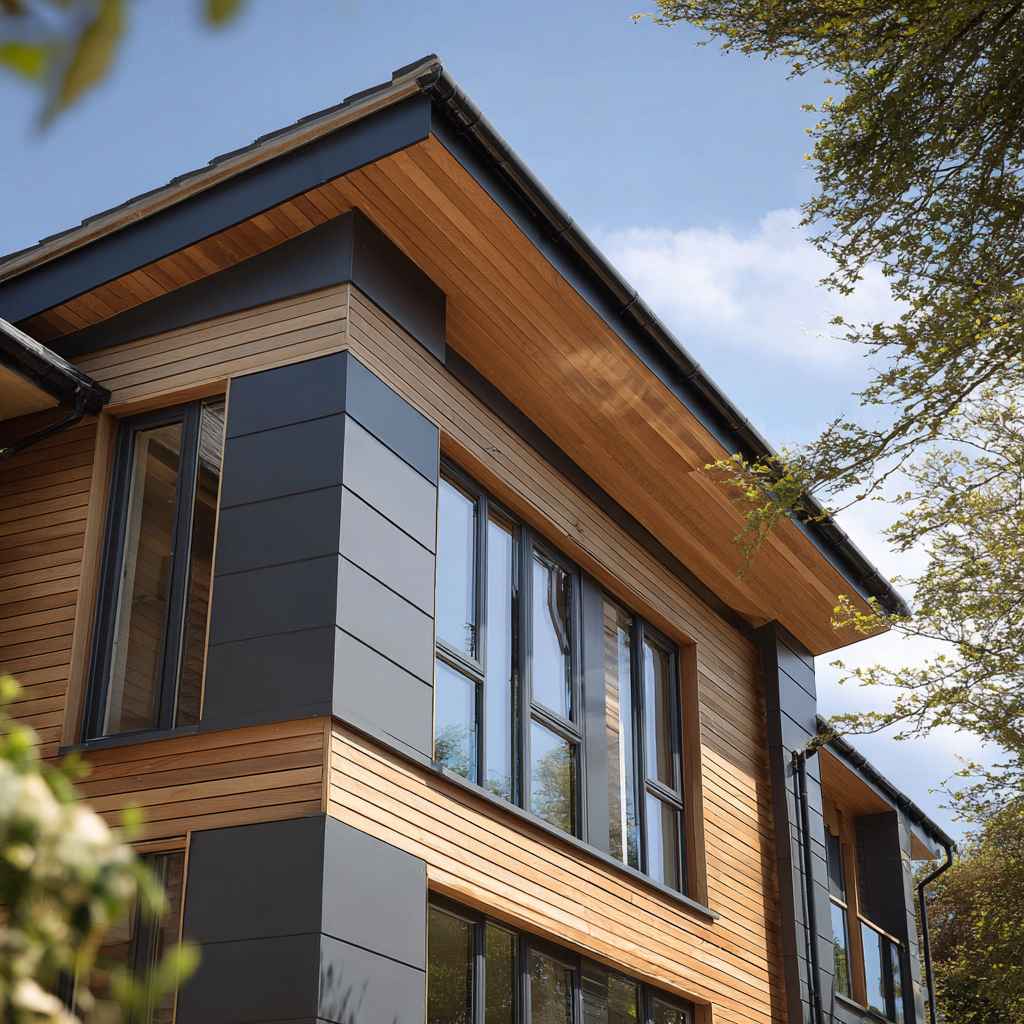
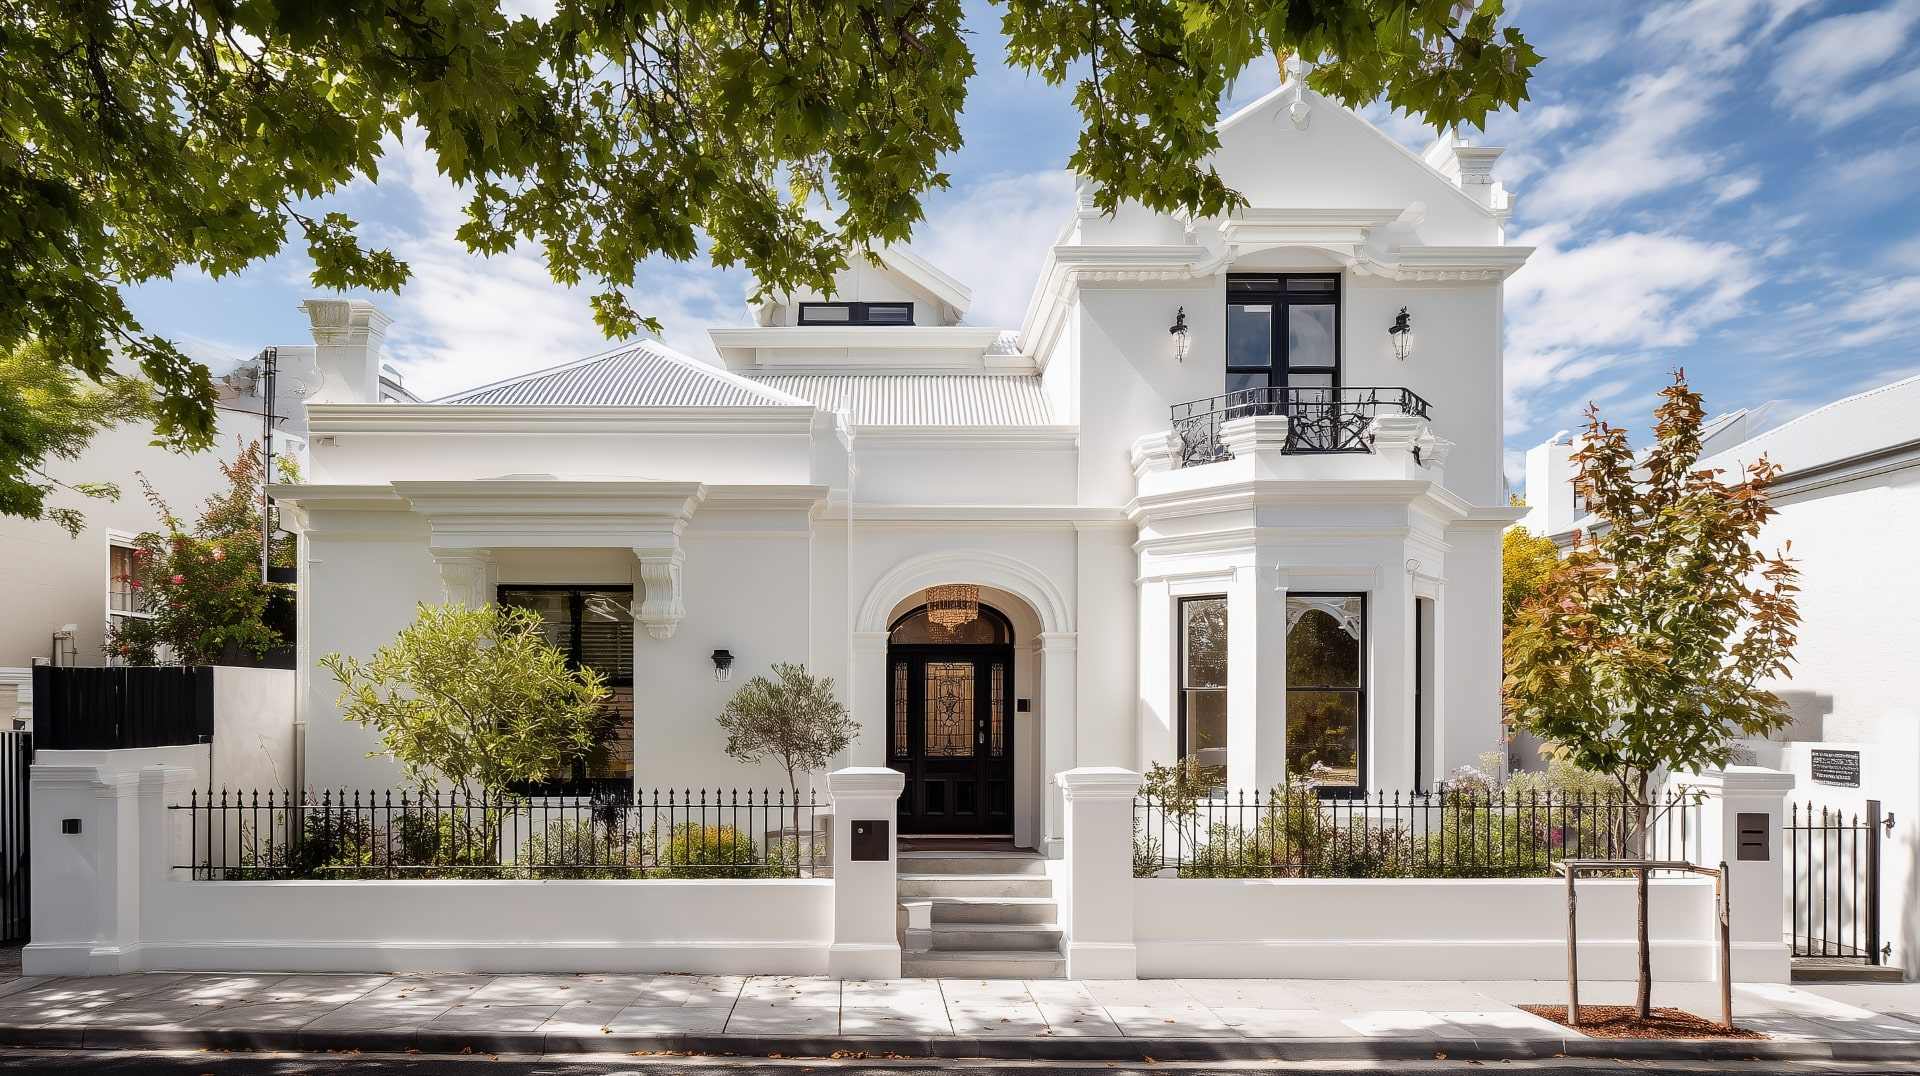
Makes the House Look Better
The new, modern look of rendering hides old bricks, spots, and damage from the weather. It gives it a smooth, even finish. It makes the outside of your home look better and comes in many colours and styles. The outside of a well-rendered home looks and feels better.
Keeps You Safe from the Weather
The weather in the UK can be harsh, with rain, snow, and dampness year-round. As a shield, rendering keeps water and weathering from getting into your walls. Over time, it helps stop cracks and dampness inside. This extra layer makes your building strong.
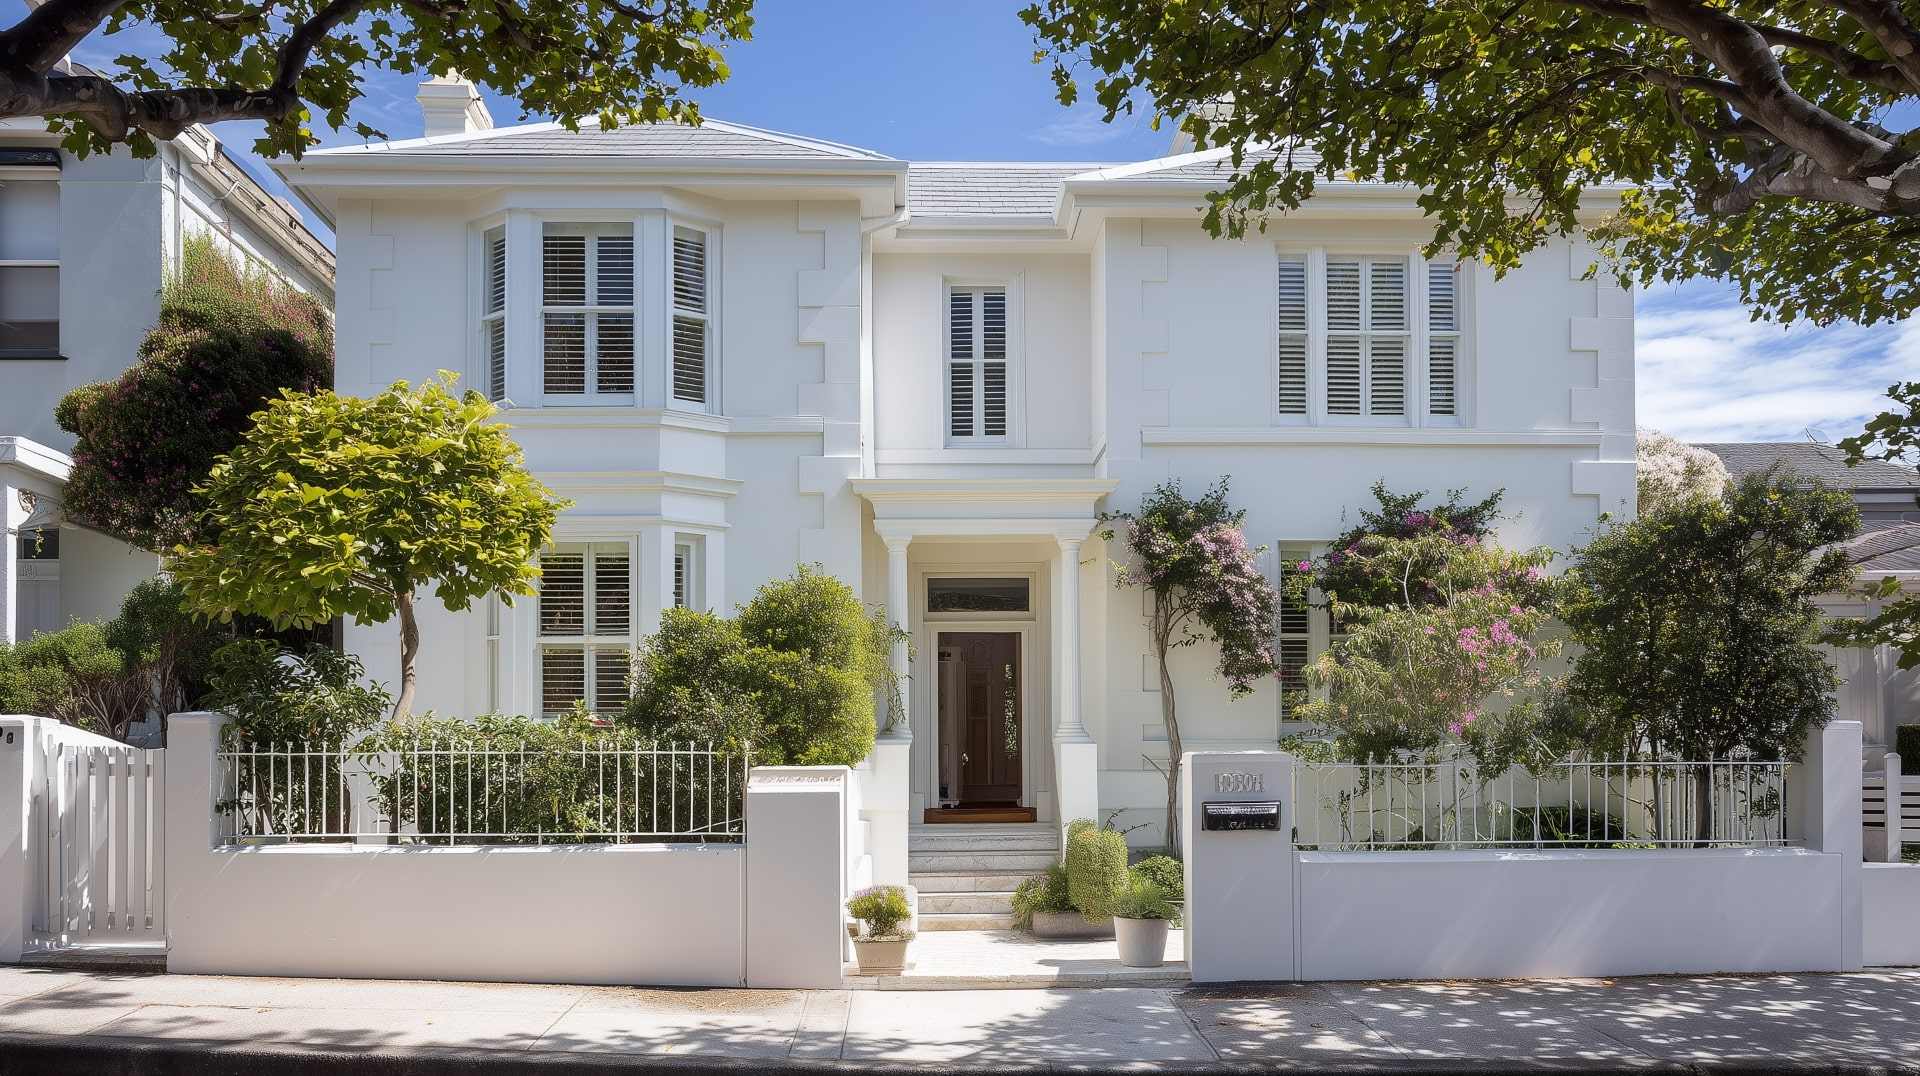
Improves the Use of Energy
Many older homes lose heat because they lack adequate insulation. By adding an extra layer, rendering helps keep that heat in. Some new white rendering houses also have insulating qualities.
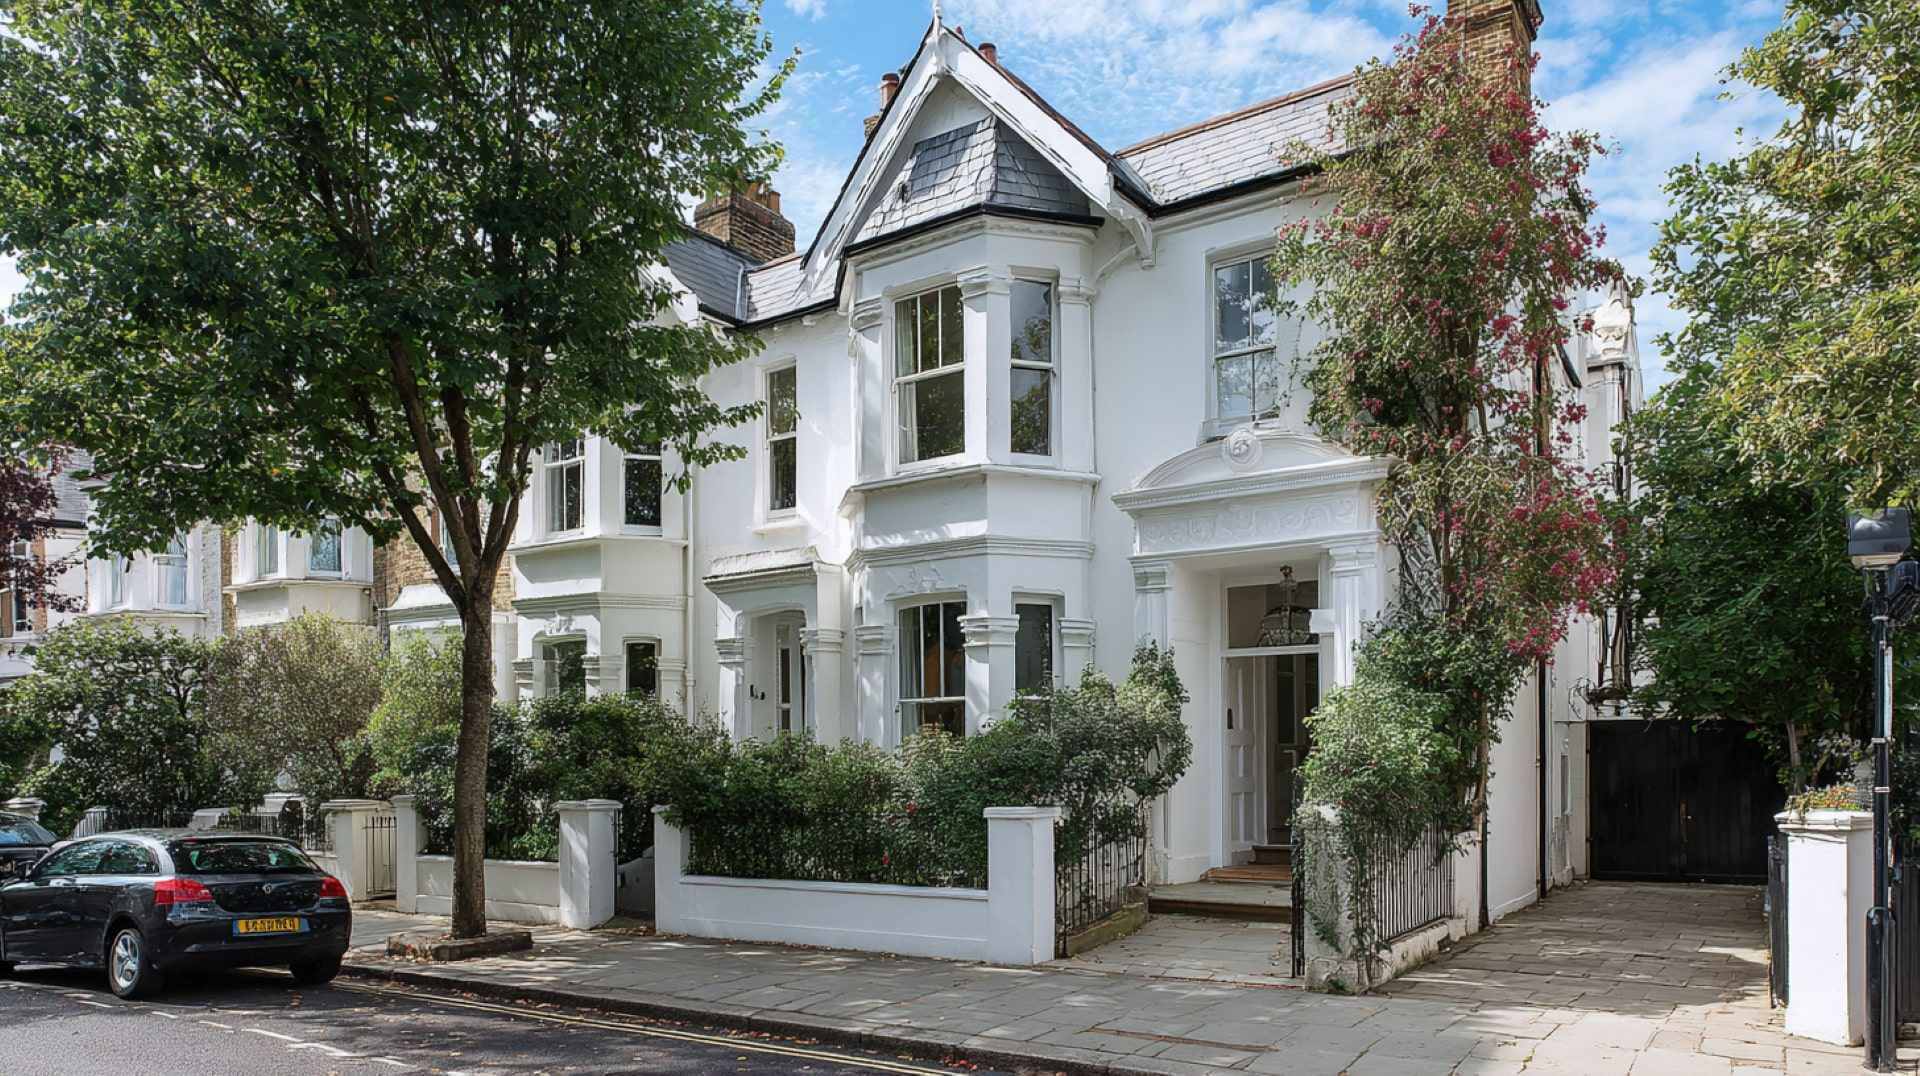
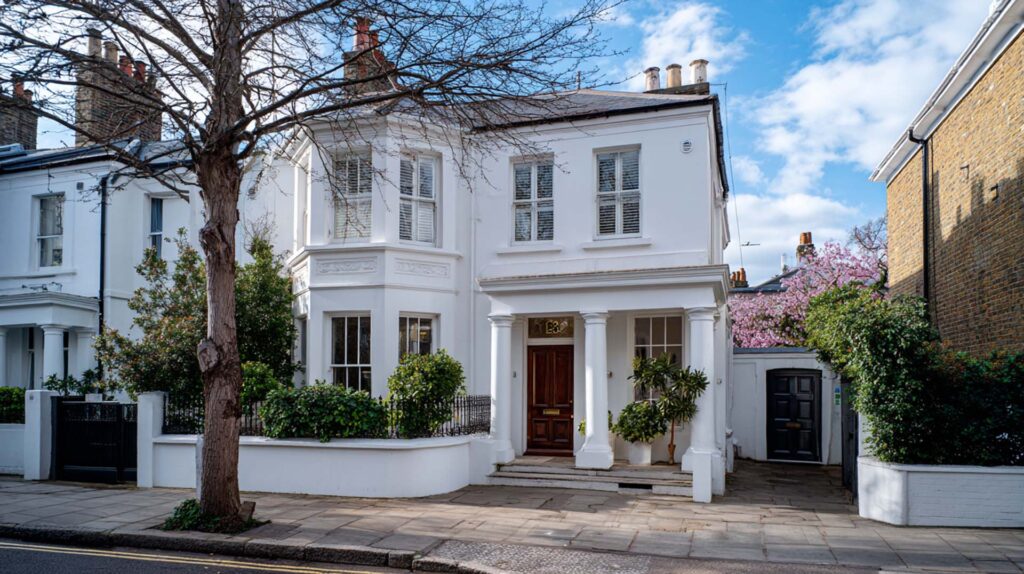
Makes the Property worth More
A clean, modern finish will make your home more appealing to potential buyers. People usually want to buy homes that require less work. In a crowded market, this can help your home stand out. A house that has been well maintained is more likely to sell quickly and for more money.
DIY Tips for Wall Rendering
Wall Rendering might look like a big job, but you can do it yourself if you get ready and have the right tools. To get a finish that looks like a pro did it, just follow these easy steps.
Take Off the Old Render and Get the Wall Ready
First, use a hammer and bolster to remove any existing render. Fix broken or cracked bricks. If the damage is severe, the brick may need to be replaced, but minor flaws can be filled with mortar. With a wire brush, clean the wall well, removing moss and other loose debris. Then use grip paint to seal it. This will make it stick better and take longer to dry.
Take Render and Mix It Up
You can buy pre-made render, or you can use render sand, cement, and hydrated lime to make your own. For bigger places, mixing your own is a better deal. Six parts sand, one part cement, and one part lime make up a typical mix. For the first coat, also called the scratch coat, you can use a slightly different mix, such as three parts sand to one part cement.
Place the First Coat On
Before you put on the first coat, you should measure and fix your corner beads. In even strokes, start from the top to the bottom with a sealing tool. The thickness of the first coat should be about 5 mm. After putting it on, use a straight edge to make it level and a scratching comb to make minor marks on it.
Finish by Putting On the Second Coat
After the base coat has dried, lightly wet it with grip paint. Add a second coat of the best rendering mix in a layer that is five millimetres thick. Level the surface with a straight edge, and then use a damp sponge float to finish. This makes the surface look smooth and clean, preparing it for painting or sealing.
Cost of Wall Rendering
Wall rendering costs can change based on factors such as the area’s size, the type of render used, the work that needs to be done to prepare the surface, and the need for support. Usually, more complicated finishing or high-performance images increase the total cost. The end price is also affected by labour costs and regional differences.
Conclusion
If you’ve done your study and have the right tools, rendering your home can be a fun do-it-yourself job. But if you want a finish that is smooth and lasts, it’s usually best to hire a trained expert. Rendering is still a good investment because it offers numerous benefits, such as enhancing a building’s appearance, protecting it, and saving energy. By upgrading, you have nothing to lose.