If you are applying render to your walls, the thickness of the render would be a very obvious question in your mind. Let’s first see the types of render you can choose from.
Types of Render
- Sand and cement render: This is the most commonly used type of render, and is made from a mixture of sand, cement, and water. This type of render is best suited for outdoor walls and is usually applied in two coats.
- Acrylic render: Acrylic render is a type of render that is made from a combination of acrylic resin, lime, and sand. It is a much more flexible type of render and it is often used on external walls and façades. It is also more resistant to cracking and peeling than other types of render.
- Polymer-modified render: This type of render is a combination of an acrylic resin and a polymer. It is applied in two coats and is ideal for areas that are exposed to harsh weather conditions or areas with a lot of movement. It is also less likely to crack than other types of render.
- Lime render: Lime render is a type of render that is made from a combination of lime and sand. It is a very breathable type of render and is often used on older buildings as it allows moisture to pass through the wall, reducing the risk of dampness and condensation.
Preparation of Surfaces for Render
The preparation of surfaces for cement rendering is an important task that must be completed before you can begin rendering. The surface must be clean and free from dirt, grease, oil, paint, and other foreign matter.
It should also be free from any protrusions, such as nails and screws. In addition, the surface should be flat and even, with no cracks, holes, or other defects.
Before you begin rendering, it is important to prepare the surface. This includes cleaning the surface with detergent, sanding any rough areas, and filling in any cracks or holes with a suitable filler.
Once the surface is clean and smooth, it should be dampened with clean water to help the render adhere to the surface.
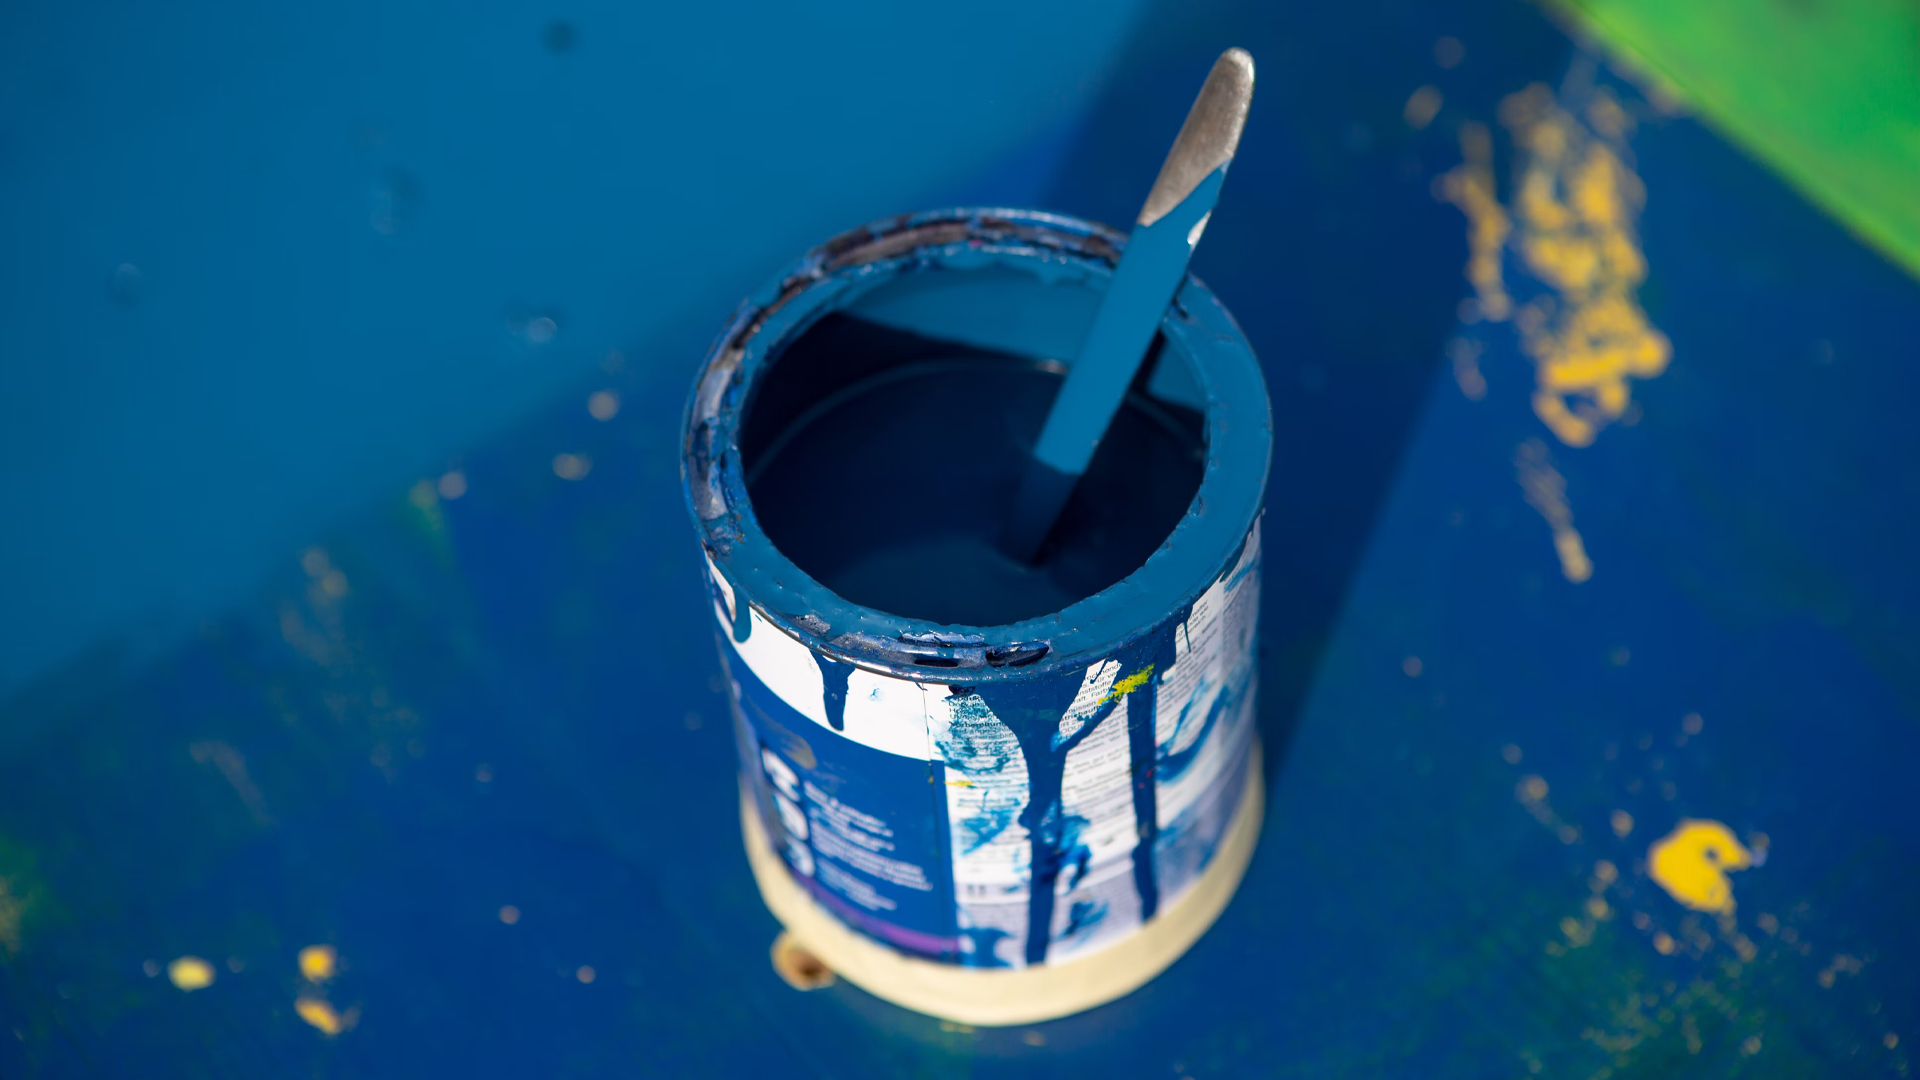
Once the surface is prepared, you can begin applying the render. It is important to use a quality render that is specifically designed for the surface you are working on. You should also use the correct tools, such as a trowel, float, and edger, to ensure a smooth and even finish.
If you are working on a brick or masonry surface, you may need to use a masonry render. This type of render is designed to bond with the surface and provide a strong, durable finish. It is important to use the correct mix of cement, sand, and water for a successful application.
Finally, it is important to allow the render to dry and cure before you begin to paint or decorate. This will ensure a strong,
Calculating the Thickness of the Render
The thickness of cement render is usually between 10 and 20mm. The exact thickness depends on the type of substrate, the purpose of the render, and the environment it is being applied in.
For example, a thicker render may be necessary for areas prone to extreme weather or in areas that require a higher level of waterproofing.
The thickness of cement render depends on the type of application, the surface on which it is being applied, and the desired finish. Generally, the thickness of a cement render should be between 6 and 25mm.
However, a thicker render can be used for heavier-duty applications such as external walls. The thickness of the cement render will depend on the substrate, the intended use, and the desired finish.
Generally, a minimum thickness of 12.5mm is recommended for a single-coat render. For a double-coat render, the minimum thickness should be 20mm. The maximum thickness should not exceed 25mm.
Benefits of Thick Render
- Durability: Thick cement render is incredibly durable, which means that it can last for several years without having to be replaced. The thickness of the render also helps to protect the underlying surface from weathering, corrosion, and other damages.
- Thermal and Sound Insulation: Thick cement render offers superior thermal and sound insulation. This means that it can help to keep a building warm in the winter and cooler in the summer by reducing the transfer of heat and sound.
- Fire Resistance: Thick cement render is highly fire resistant, meaning that it can help to protect a building from the spread of fire.
- Low Maintenance: Thick cement render requires very little maintenance, meaning that it can be left for long periods of time without having to worry about it.
- Easy to Clean: Thick cement render is also very easy to clean, making it ideal for areas that are prone to dirt and grime.
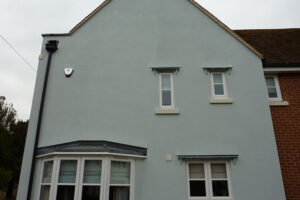
- Increased Aesthetic Appeal: Thick cement render can provide an attractive finish to walls and other surfaces, giving any home an attractive, traditional look.
- Cost-Effective: Thick cement render is a cost-effective solution for improving the external appearance of a home and providing protection from weather and environmental damage.
How to Apply Thick Render
- Prepare the surface: Before applying a thick render, make sure the surface is clean and free from dust, dirt, and debris. If the surface is painted, use a wire brush to remove any loose paint. Start by pressure washing the surface to remove dirt and debris. Allow the wall to dry completely before proceeding.
- Mix the render: Mix the render according to the instructions on the packet.
- Apply the render: Use a trowel to apply the render to the surface in even, overlapping strokes. Start at the bottom of the wall and work up. Use a steel trowel to smooth the render and ensure a consistent thickness.
- Smooth the render: Once the render is applied, use a wet sponge to smooth out any lumps or bumps.
- Allow the render to dry: Allow the render to dry completely before painting or adding any other finishes. Once the render is completely dry, apply a sealer to protect the surface.