One of the apparent advantages of doing this would be that the cost of deleting the old render is reduced. This is something that we have been asked to perform by clients on numerous occasions.
However, there are a few factors to take into account before you decide to go ahead with this option because making the wrong choice may be very stressful and expensive.
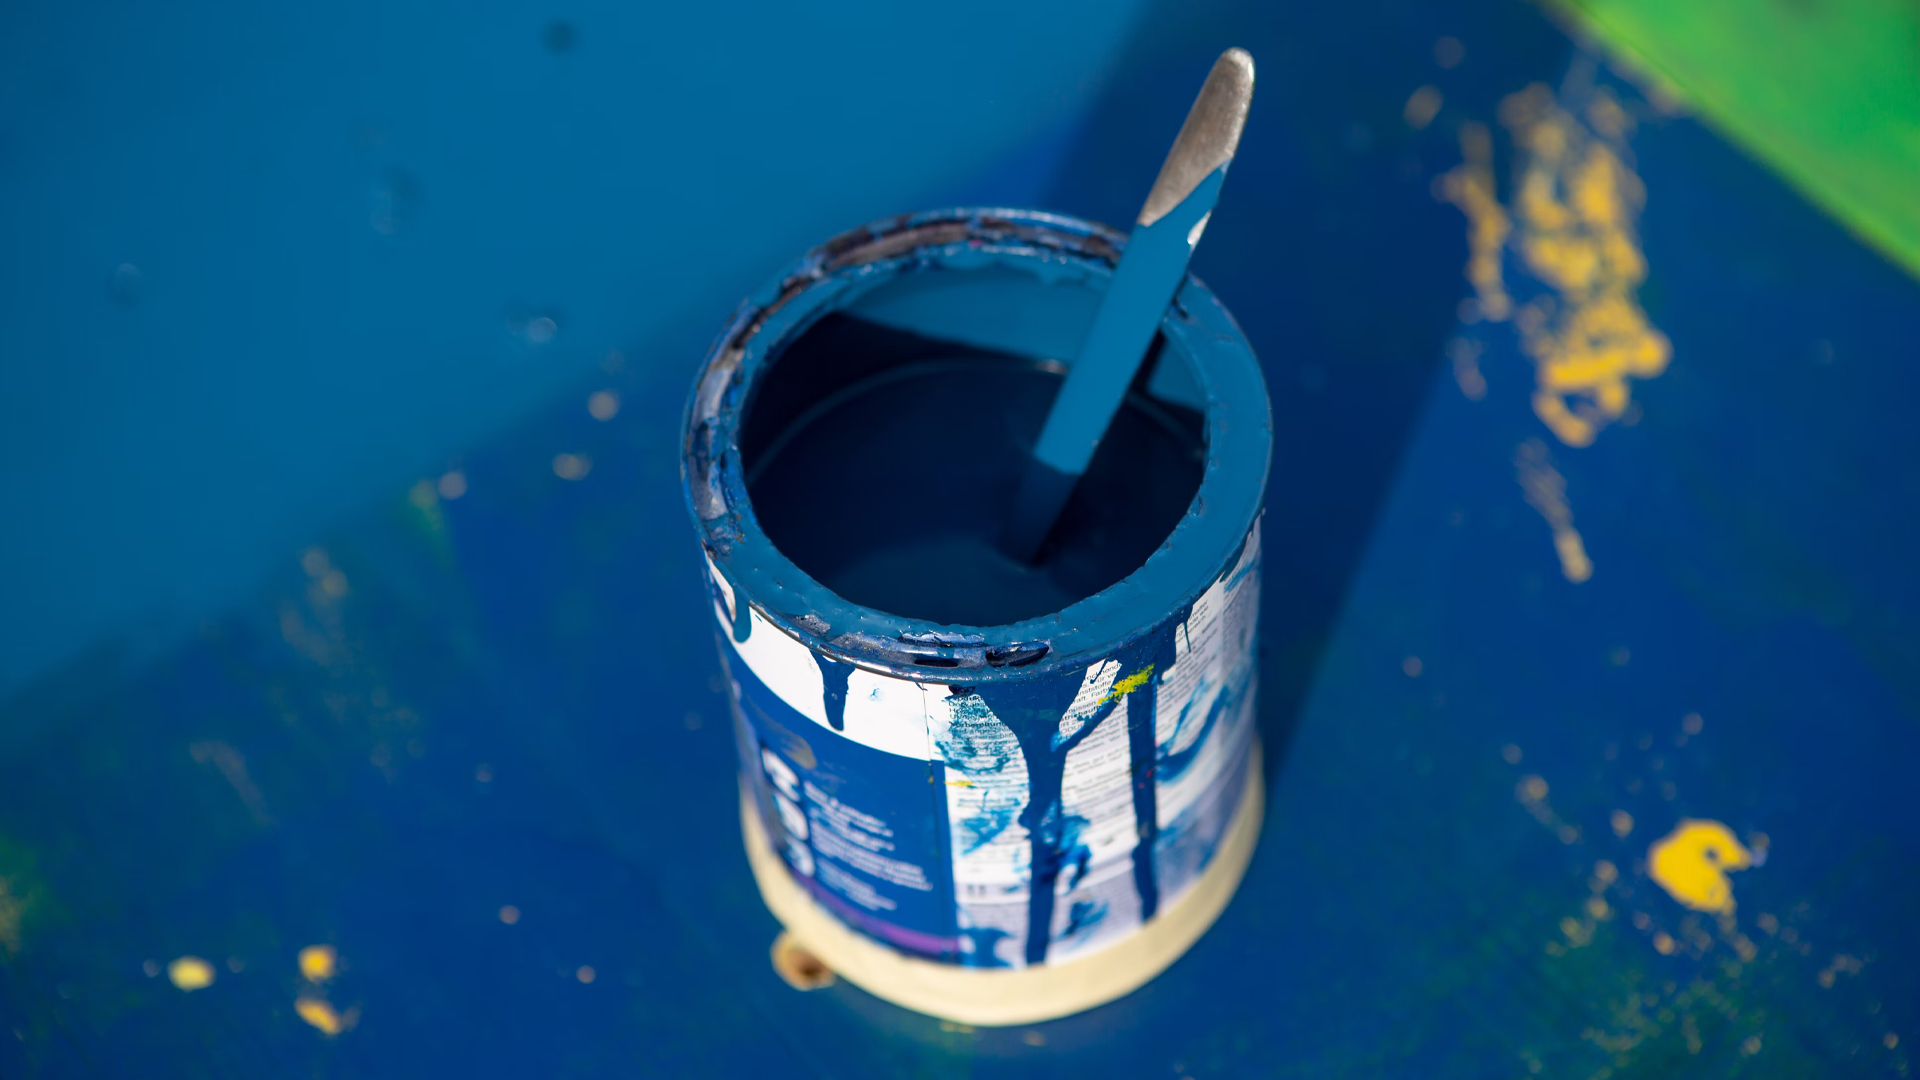
If the render is painted, that is the first thing to check.
The reason this is a problem is that if the old render is painted, the new render won’t be able to adhere to the old render because the paint layers will prevent the new render from adhering to the old render.
Steps to render over an old render
- Prepare the surface: Remove any loose render and clean off any dirt or debris. Use a pressure washer to clean the surface if needed. Fill any cracks or holes with cement-based filler. Use a wire brush to remove any loose material from the surface
- Apply a bonding agent: Apply a bonding agent to the surface to help the new render adhere to the old.
- Prime the surface: Apply a primer to the surface to help the render stick. Use an acrylic primer that is suitable for rendering. This will help the new render adhere better to the old surface.
- Prepare the new render mix: Follow the instructions on the new render mix package for the best results.
- Apply the render: Use a trowel or a hopper gun to apply the new render to the surface in a thin, even layer.
- Allow the render to dry: Allow the render to dry for at least 24 hours before applying a second coat.
- Finish the render: Once the render is dry, use a trowel to feather the edges and smooth out any bumps or imperfections.
Advantages
The advantages of rendering over an old render include:
- Increased insulation – Rendering can provide additional insulation, reducing the amount of heat lost through walls and helping to keep your home warm in winter and cool in summer.
- Improved aesthetics – Rendering can add a modern and stylish finish to a property, giving it a fresh and updated look. An old cement render can look tired and drab, whereas a new render can instantly improve the look of your home, giving it a fresh and modern makeover.
- Increased waterproofing – Rendering can provide an extra layer of protection against water damage, helping to keep your property dry and healthy.
- Improved durability – Rendering is much more durable than a cement render, allowing it to stand up to wear and tear for much longer.
The advantages of rendering over an old cement render include:
- Increased weather protection: Renders are more resistant to the elements than an old cement render, providing increased protection against rain, wind, and UV rays.
- Increased property value: A freshly rendered home can increase the value of your property, making it more attractive to potential buyers.
- Improved fire resistance.
- Increased resistance to mould and fungi.
- Easier to maintain and clean.
- Improved resistance to chemical products and pollutants.
What are the Challenges of Rendering Over an Old Render?
- Poor adhesion: Old renders may not bond properly to the substrate, resulting in poor adhesion and a weakened render.
- Cracking: Renders are prone to cracking due to thermal expansion and contraction.
- Discoloration: Old renders can discolour over time due to exposure to UV light, rain, and other environmental factors.
- Poor waterproofing: Old renders may not provide adequate waterproofing, resulting in water seeping through the render and damaging the substrate beneath.
- Unstable substrate: Renders are only as strong as the substrate underneath them. If the substrate is weak or unstable, the render may fail.
- Inadequate surface preparation and/or repairs – If the existing render is old or in poor condition, it may need to be repaired or even removed and replaced prior to applying the new render.
- Insufficient insulation – Old renders may not have good insulation properties, resulting in poor thermal performance and increased energy costs.
- Cracking – Old renders can crack due to movement or settlement, which can cause damage to the new render.
- Colour matching – It can be difficult to match the colour and texture of the new render to the existing one.
What are the Tips for Rendering Over an Old Render?
- Ensure the surface is clean and free of dirt, dust, grease, and other contaminants.
- Repair any cracks, holes, or other damage before starting the job.
- Use a suitable bonding agent, such as a PVA-based mortar, to ensure a strong bond between the old and new render layers.
- Apply a waterproofing layer to the old render before applying the new layer.
- Use a stiff brush to apply the new render in a crisscross pattern.
- Allow the render to dry completely before applying a second layer.
- Apply the second layer of render in the same pattern as the first.
- Use a float to lightly press the render into place and to work out any air bubbles.
- Use a trowel to create an even, smooth finish.
- Allow the render to dry completely before painting.
Conclusion
Traditional multi-coat render techniques are applied in a series of layers, with the last coating being the weakest and thinnest. As a result, top coat renders may be relatively weak, and determining how well the existing layers of render adhere to one another can be difficult.
The weight of the previous layer(s) increases with each additional layer of render, which has an adverse effect on the overall strength of the bond between layers of render and between render and the substrate.
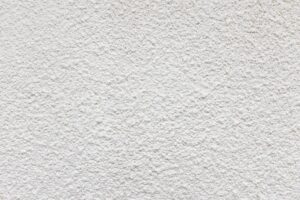
To bond to the wall, renders require both a mechanical key and suction. Even if they are unpainted or uncoated, existing render surfaces are typically “plain faces” and infrequently have enough keys to support a fresh render.