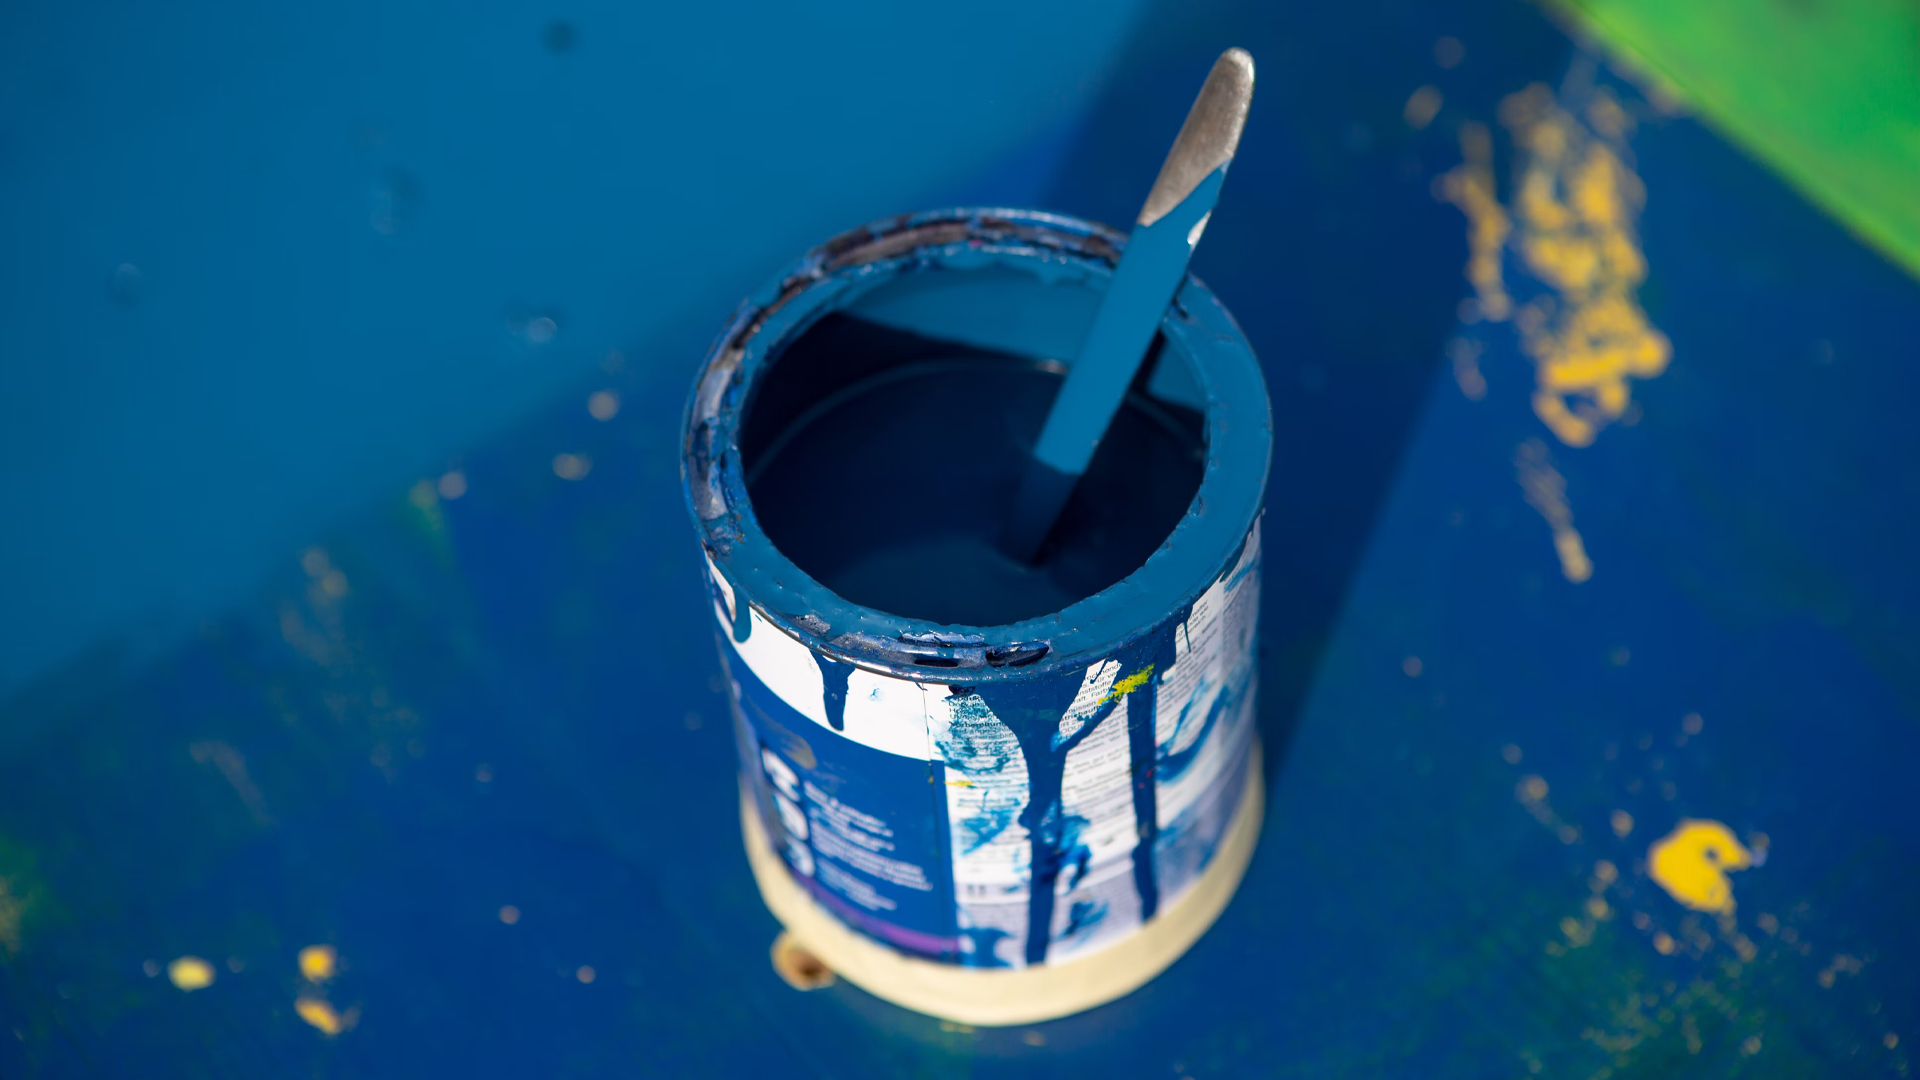
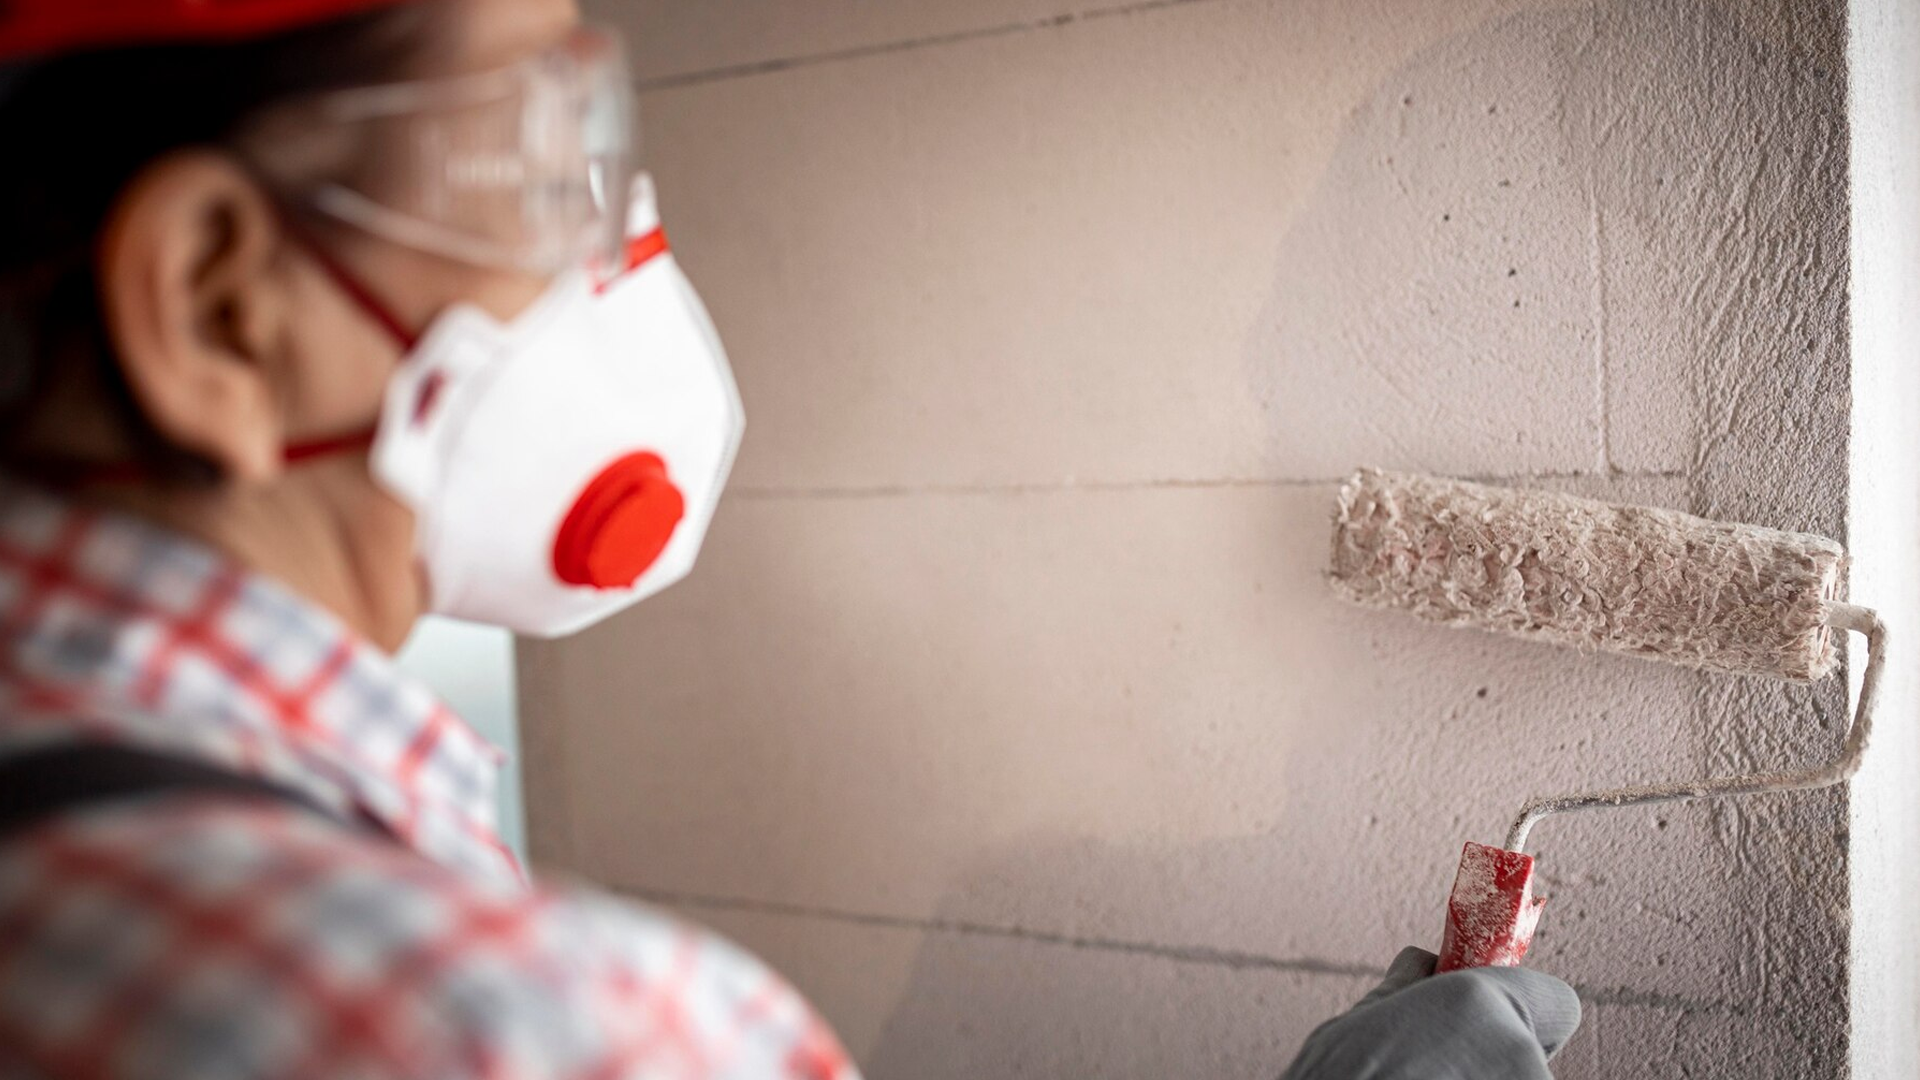
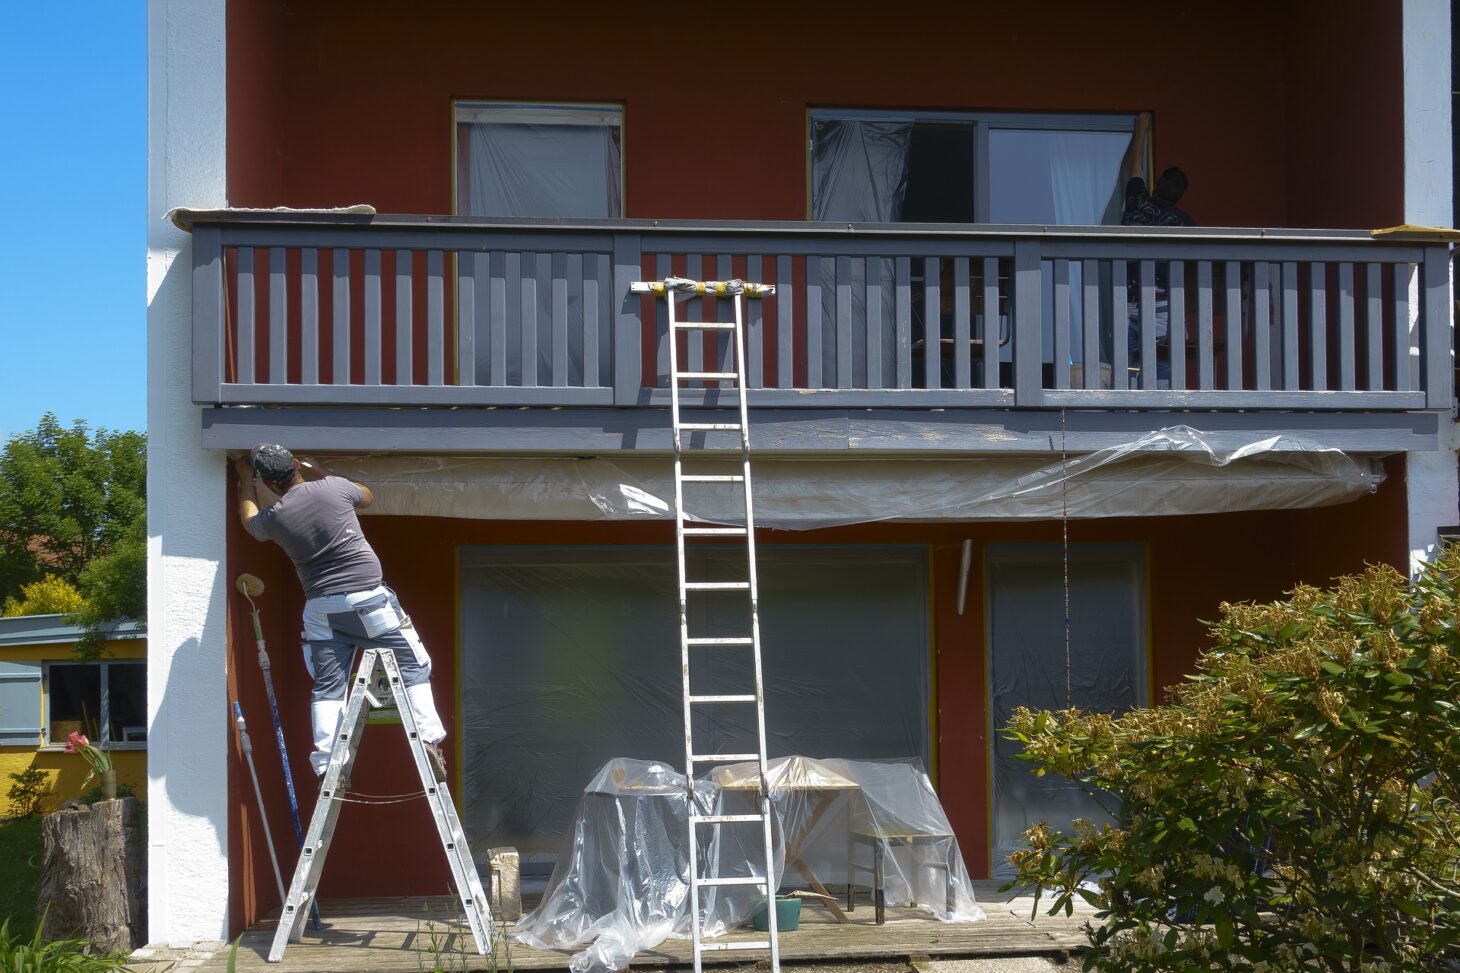
House Priming and painting a surface with two coats is most effective when certain conditions are met. On a general level, the ideal temperature range is between 50°F and 90°F, which is a good deal of the year for those in New England.
However, certain circumstances should be avoided when painting an outdoor wall, deck, or fence:
- Painstakingly Blistering Colour
Bubbles or blisters under the paint film are a sign of blistering paint; wood siding and trim are the most common places to find it in your house.
Possible reasons
- Painting on a heated surface under direct sunlight causes paint to dry too quickly, trapping solvent vapour.
- Painting over wet wood allows the paint film to expand and become more durable.
- Latex paint of poor quality or improperly prepared for the substrate surface peels away after drying. This allows dew, rain, or extremely high humidity to seep in.
- As a result of shoddy ventilation, the house’s walls get saturated with moisture.
Preventative Maintenance and Repai
- Remove any blistered paint and sand it smooth to get to bare wood. Before painting, allow the wood to dry completely.
- Ensure that sand, prime, and paint in areas are not exposed to direct sunlight or humidity.
- Invest in good latex paint.
- The walls, roof, and eaves of the house and the bathrooms must be adequately ventilated if there is a lack of house ventilation.
- Examine the caulking around windows and doors. Repair if it is loose or missing.
- Consider adding ventilation to the siding.
- Checking and alligatoring
Paint film failure, known as alligatoring, occurs when the surface develops a cracked pattern that resembles the skin of an alligator. Another type of paint failure, checking, is characterised by long, relatively evenly spaced cracks in the paint film. A shallow relief or depth accompanies this. Occasionally, checking can become so severe that it causes the paint to crack or split even more deeply in the affected area.
Possible reasons (Alligatoring)
- After the initial priming application, the paint base coat might not have dried yet. The second coat of paint might have been applied over it.
- Incompatible paints, such as a hard oil enamel over a latex-based paint, are covered with the second coat of paint.
- The elasticity of oil-based paint has diminished over time, causing it to crack when the temperature changes.
Possible reasons (Checking)
- Several coats of old oil-based paint are naturally aged. Material that is painted (typically wood) contracts or expands over time. This movement of the paint causes the paint to “check.”
Preventative Maintenance and Repair
- Before applying new paint, remove the old—flexible latex-based paint.
- Invest in good latex paint.
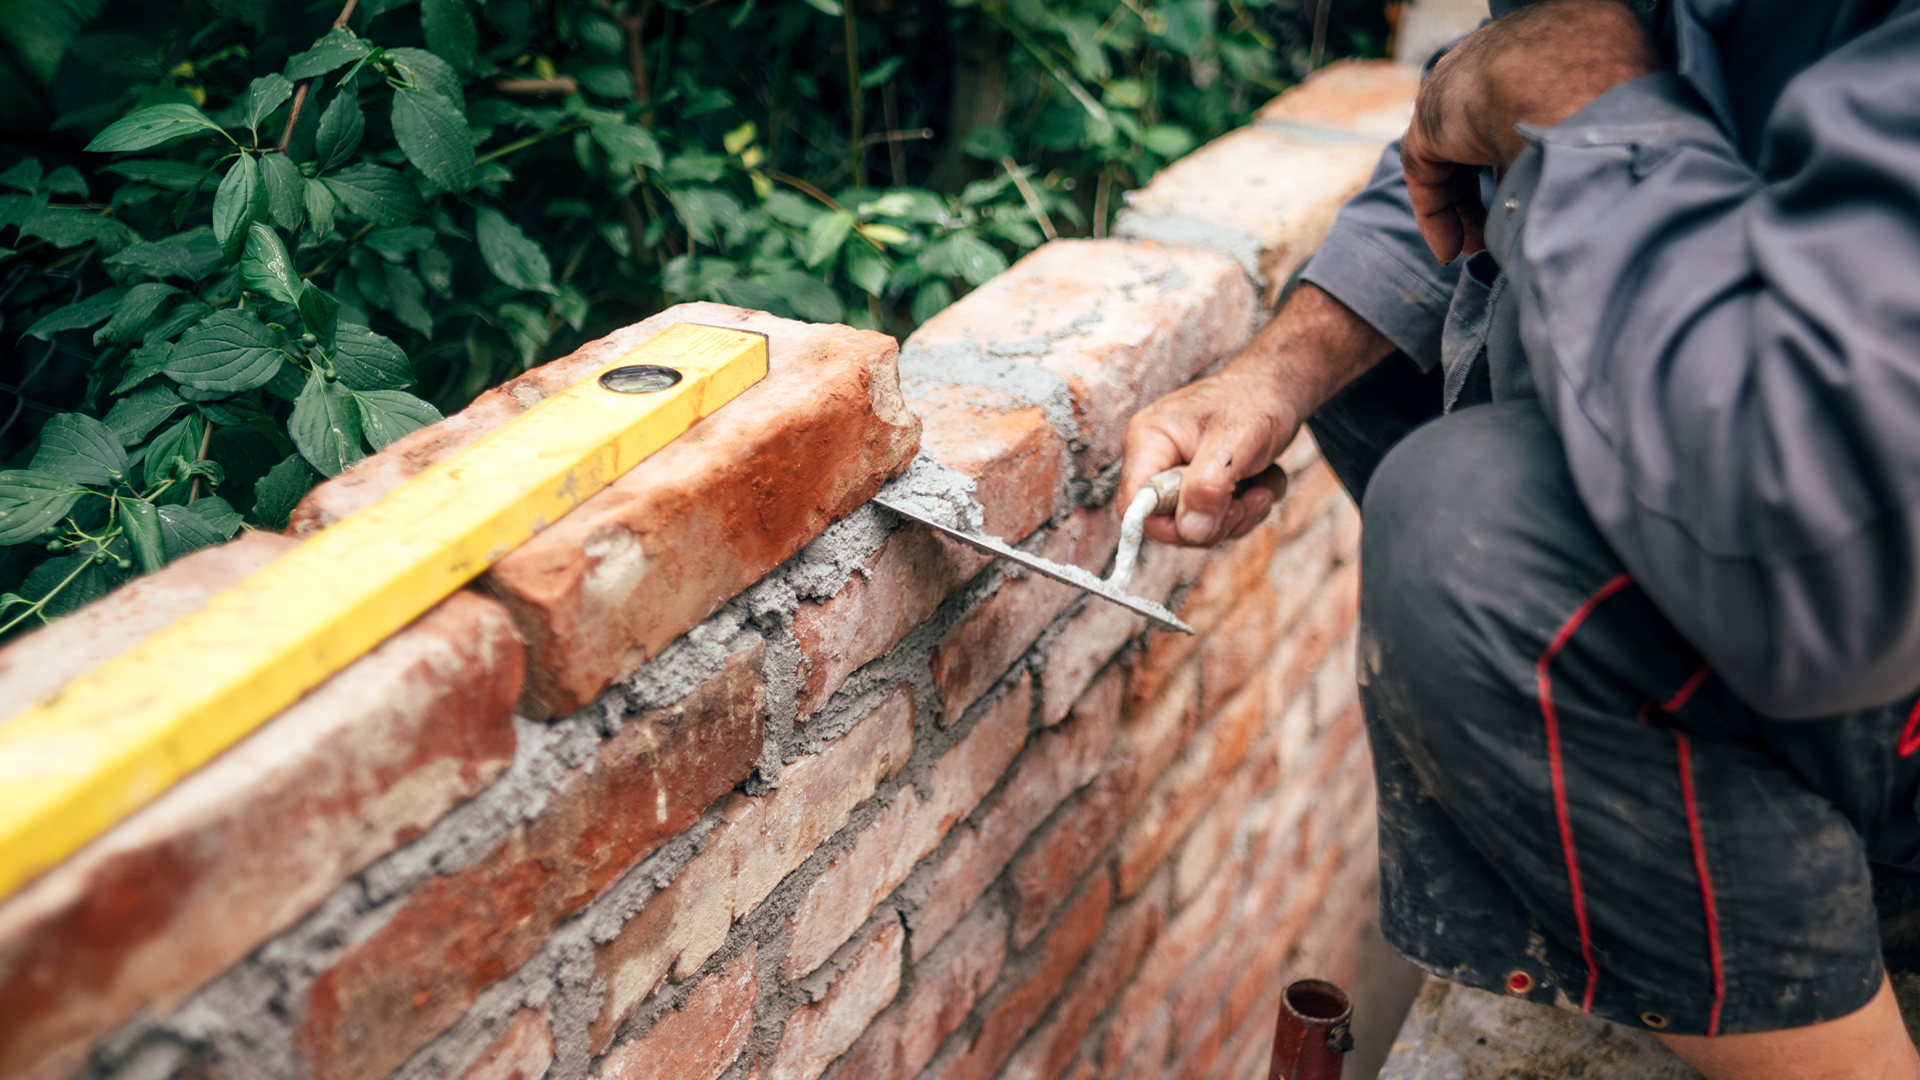
- Efflorescence
White salt deposits bubbling up through the paint film are the first sign of efflorescence, an issue with painted masonry construction. The brick or concrete salt dissolves as water evaporates and leeches to the surface.
Reasons That Could Account for the Situation
- The preparation of the surface is poor. Primary efflorescence is not completely removed and washed before painting.
- The house’s interior has much moisture seeping out of the masonry walls on the exterior.
- Groundwater can seep into the basement due to a lack of proper waterproofing.
- The paint is applied to masonry before the concrete or mortar is fully cured and dried out.
- Water made its way behind the masonry wall because of poor tuck pointing or cracks.
Inspect, Fix, and Avoid
- Clean out the gutters and downspouts. Use a butyl rubber caulk to seal the joints around windows and doors if water enters the masonry.
- Ensure the walls outside are adequately waterproofed if moisture is leaking into them (like a basement wall).
- Use power washing to remove any remaining efflorescence and flaking paint as a last resort. Then use a trisodium phosphate cleaning solution and a hose to rinse the area thoroughly. Wait until the primer has dried dry entirely before painting for optimal results.
- Chalking
The thin, chalky powder that accumulates atop a paint film identifies a chalking. Even though some chalking is a normal part of the self-cleaning process of paints, excessive chalking indicates paint failure. With little rain in dry arid climates, chalking can be excessive. As the weather breaks down the binders in the paint, pigment is released into the air, creating chalking. Light-colored flat paints, particularly those containing high pigment extenders, are more likely to chalk than darker paints. The surrounding construction will be stained if the chalking becomes too severe.
Reasons That Could Account for the Situation
- Cheaper exterior paint with higher concentrations of pigment extenders is used.
- The exterior was painted with the wrong paint (like interior paint).
- Aluminium siding that had been factory-finished to a lower standard is painted over.
- Before it was painted, the paint was overly thinned.
- A thorough sealing of the porous surfaces is not performed before painting.
Inspect, Fix, and Avoid
- Before repainting, the chalking must be removed. Use power washing or an acidic cleaning solution to remove the chalking. Rinse thoroughly with clean water. Let it dry, then apply high-quality latex paint to your house.
- Using a specialised masonry cleaning solution is best to remove chalking from brick areas. Use a professional cleaning contractor if the staining persists.
- The State of Being Sluggish or Rapid
This paint failure is easily spotted by the drooping, dripping appearance of the paint film.
Reasons for Concern
- A thick coat of paint is sprayed or smothered in paint.
- Too much paint is thinned out before it is applied.
- When temperatures are too low or have high humidity levels, the paint is applied.
- You applied the paint without priming the glossy surface. However, a lack of “tooth” prevents the finish coat from adhering correctly to the print substrate.
- An unclean or improperly prepared surface is used to apply the paint.
Inspect, Fix, and Prevent
- Utilise a brush or roller to reapply the excess paint while still wet to prevent further sagging.
- Remove any dried paint and sand from the uneven surface before lightly reapplying a coat of paint.
- Sand the glossy surface until it becomes dull and “toothy” so that the paint can adhere or apply primer. Repaint if it was painted over something glossy previously.
- In place of one heavy coat, apply two light coats of paint.
- Avoid using a paintbrush that is too full. Correctly use a paintbrush.
Conclusion
There are, however, a few exceptions to this rule. First, an unseasonably warm winter day with sunlight is ideal for applying an acrylic paint coat. This is because it’s easier to get the job done before it gets dark and wet. This happens when you’re using an acrylic paint formula in temperatures as low as 35 degrees Fahrenheit.
However, painting in inclement weather has long-term repercussions. Specifically, the job lasts for less time, and cracks begin to form sooner. This reduces the barrier that paint creates on the exterior of your house and gives it a worn appearance.